Blog
Reusing Soil For Cannabis Cultivation
Recycling Planting Soil and Clandestine Sustainability
I have spent over five decades growing plants of all kinds, and if there is one thing I have learned, reusing soil for cannabis cultivation can save a ton of money. Good potting soil (recommended) is expensive….and I have always been one to save money when possible.
Many growers believe they must purchase fresh, sterile bags for every single run, but I am here to tell you that it makes sense to understand the art of reclamation. Reusing soil isn’t just about being thrifty; it’s about building a living, breathing ecosystem that gets better with age.
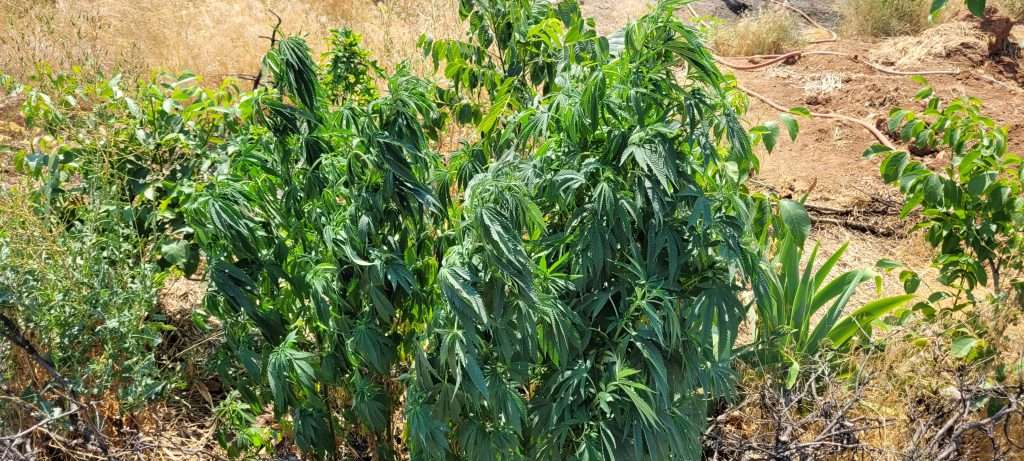
The Ghost approved of this approach back in his guerrilla days, though for him, it was more about reducing the “signature” of a grow site, a need to use what is there. Getting several 50-pound bags into a remote thicket is a sure-fire way to leave a trail that even a blind deputy could follow.
By reusing soil on-site, we kept our operations clandestine and our backs from breaking. Whether you are growing on an 80-acre off-grid property or in a backyard garden, mastering the reuse of your medium is a skill that separates the hobbyist from the veteran.
Table of Contents
- The Risks of Reuse: Pathogens and Pests
- The Soil Reclamation Process: A Step-by-Step Guide
- Re-amending the Matrix: Restoring the Nutritional Balance
- The Ghost Tactic: Clandestine Soil Management
- Common Mistakes to Avoid when Reusing Soil
- Final Thoughts and Community Discussion
The Risks of Reusing Soil: Pathogens and Pests
Before we dive into the “how,” we must address the “why not.”
It is imperative to be cognizant of the fact that soil is a reservoir. If your last crop was decimated by root rot, fusarium, or a particularly nasty infestation of fungus gnats, reusing that soil without proper treatment is not a good move that can result in a repeat disaster. You are essentially inviting the enemy back to the table before the new seedlings have even had a chance to defend themselves.
I’ve seen entire harvests ruined because a grower was too lazy to inspect their old root balls. If the previous plants were healthy and vigorous, you are in a much better position. However, even “clean” soil will have depleted its mineral stores and likely shifted in its pH balance. Salt buildup from synthetic fertilizers is another silent killer that can make the environment detrimental to new growth. One must be willing to put in the work to flush and test the medium before it can be considered viable for a second tour of duty.
Check your old soil for “stagnant” smells—a sour or rotten egg odor is a clear indicator of anaerobic bacteria. This is usually the result of poor drainage or over-watering in the previous cycle. If the soil smells like a fresh forest floor, you’re off to a good start.
The Soil Reclamation Process: A Step-by-Step Guide

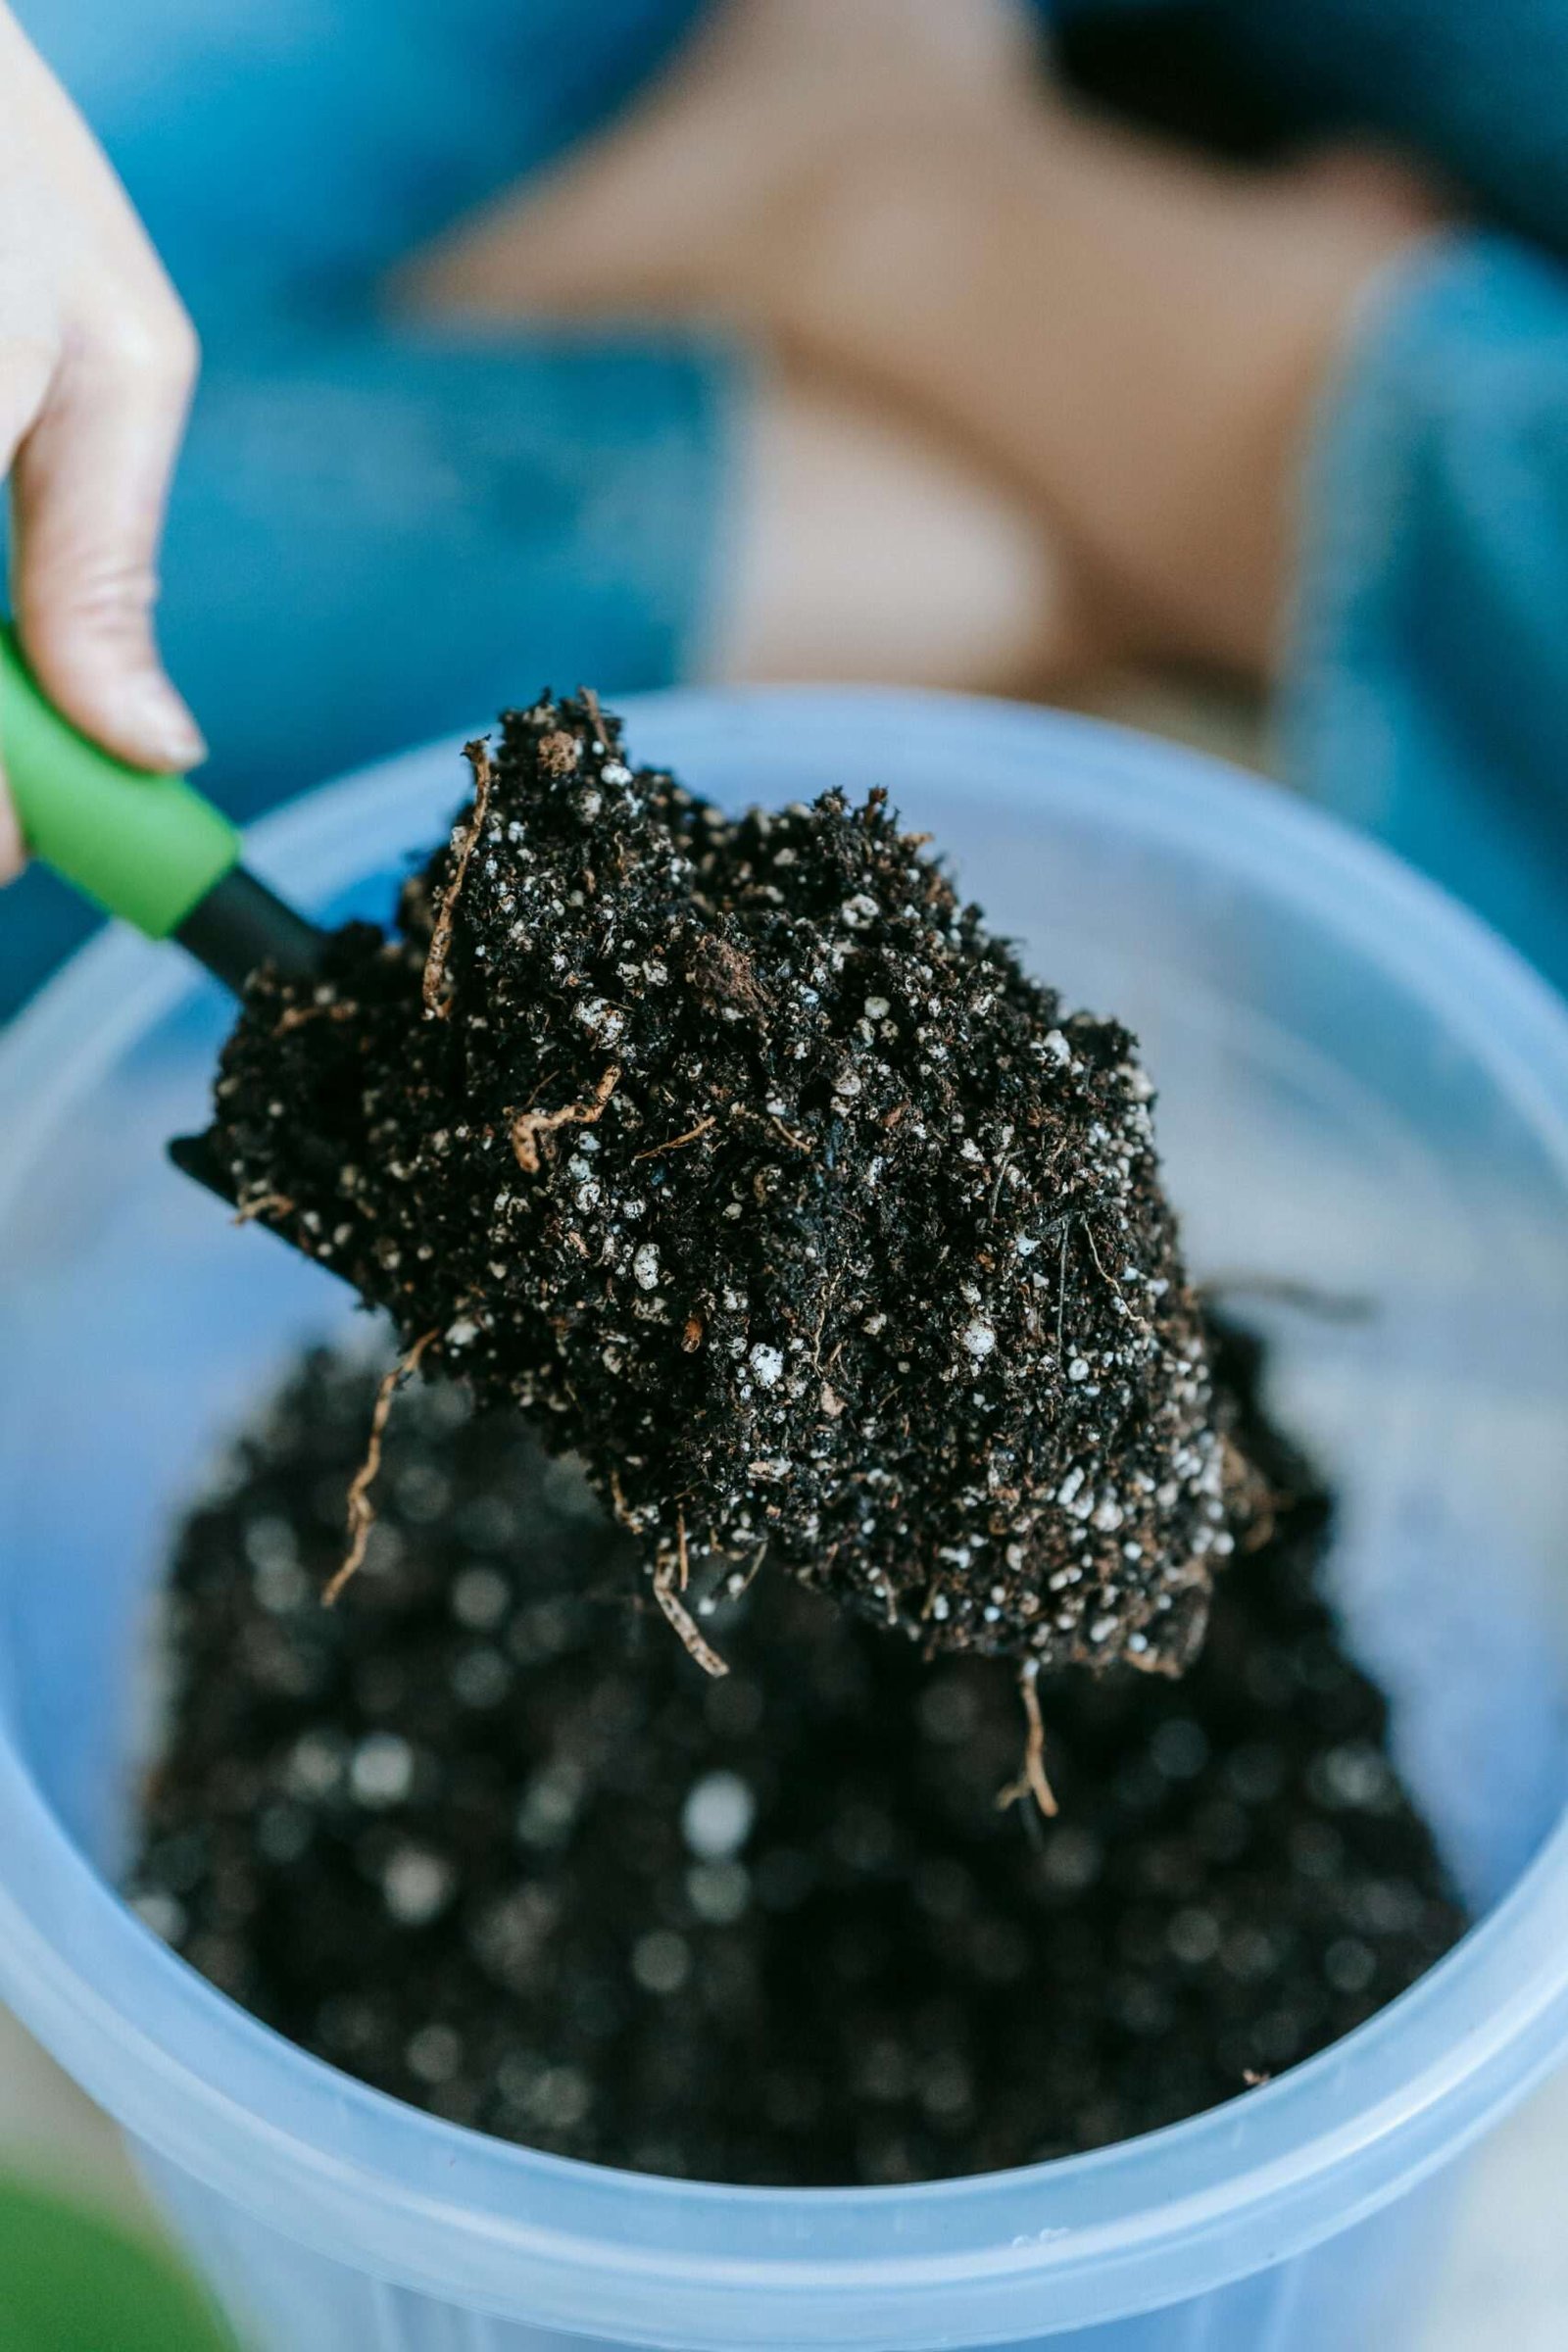
The first step in reusing soil is a thorough mechanical breakdown. I like to spread the old soil out on a clean tarp in the sun. Solarization is a powerful, natural tool; the UV rays and heat can help eliminate lingering pathogens. You want to remove the large root masses, but don’t obsess over every tiny hair. Those will eventually break down into organic matter, provided you have the right microbial life present.
Next, you must address the salt issue. If you’ve been pushing your plants with heavy fertilizers, your soil is likely loaded with residual minerals that will burn young roots. I recommend a heavy flush with clean, pH-balanced water. Let it drain thoroughly. Then you to test the runoff. If the PPM (parts per million) is sky-high, you haven’t flushed enough. You want a clean slate before you start adding the good stuff back in.
Once the soil is flushed and dried out slightly, it’s time to re-aerate. Reusing soil often means dealing with compaction. I’ve found that adding about 20% fresh perlite can breathe new life into a “tired” medium. You want a soil that feels light and springy, not something that turns into a brick the moment it gets wet. Remember, your roots need oxygen just as much as they need water… ignore this, and you’ll find yourself with a crop of yellowing, unhappy plants. As the grower your job is to maintain happy plants!
Re-amending the Matrix: Restoring the Nutritional Balance
Now we get to the heart of the matter: nutrition. Your previous plants were greedy; they likely sucked the nitrogen, phosphorus, and potassium right out of that soil. To make reusing the soil a success, you must re-amend. I’m a big fan of organic inputs here. Worm castings are my gold standard—they provide a gentle, slow-release nitrogen source and a massive hit of beneficial microbes that are essential for soil health.
I also like to add a bit of kelp meal and bone meal to replace the trace minerals and phosphorus. But a word of caution from 50 years in the field: do not go overboard. It is far easier to add more nutrients later than it is to fix a soil that is “too hot.” I’ve seen beginners turn their recycled soil into a toxic waste dump because they thought “more is better.” It is a precarious balance, so if you error, error on the side of too little.
If you have access to a compost pile on your property, a 10-20% mix of well-rotted compost can do wonders! Just make sure it’s fully broken down—you don’t want active decomposition happening in your pots, as that can lead to heat spikes that will cook your roots.
PH Management in Recycled Soil
One cannot ignore the pH. Over time, soil tends to drift towards the acidic side as organic matter breaks down. It is imperative to check your levels before planting. A bit of dolomitic lime can help buffer the pH and provide essential calcium and magnesium. I’ve found that most recycled soil benefits from a light dusting to keep things in the 6.0 to 6.8 range. One can use a reliable meter and be certain.
The Ghost Tactic: Clandestine Soil Management…Reuse
A Jerry/Ghost Tip… One can get free compost very easily. I use to do this all the time to grow monster plants out and about. Just find some deciduous trees (do not go after any conifers or the ‘compost’ will be to acetic) then remove the very top layer of leaves that are not broken down yet. Underneath you will find a beautiful layer of natures compost that has taken decades to make. This stuff can be pure gold!
When the Ghost was operating in the deep woods, he didn’t have the luxury of testing kits and fancy amendments. He had to be resourceful. His “Ghost-recommended” tactic for reusing soil involved creating a clandestine compost trench right next to the grow site. We would bury the old root balls and fan leaves in this ditch during the winter, even adding some of the free compost described above.
“The best soil for guerrilla isn’t bought; it’s forged in the shadows. By burying your harvest waste back into your grow holes, you aren’t just hiding your tracks—you’re feeding the next generation with the bones of the last. Remember leave nature improved by your presents” — The Ghost
This tactic allowed us to maintain the fertility of a “Gorilla” spot for years without ever bringing in outside supplies (I did like to pack in some perlite to loosen native soils, but it is light!).
Nature does a far better job of re-amending soil than any human can, provided you give it the time and the environment to work. By the time spring rolled around, that trench was filled with the richest, blackest “Ghost-dirt” you’ve ever seen. It was one of the secrets to our success in an era when being caught meant more than just a fine.
Common Mistakes to Avoid when Reusing Soil for Cannabis
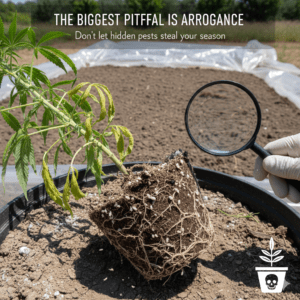
The biggest pitfall is arrogance—thinking your soil is “fine” just because it looks okay. I’ve seen growers lose an entire season to soil issues because they didn’t want to spend the time solarizing or treating their old medium. These pests are clandestine by nature; they hide in the dry pockets of the soil and wait for a new host. If you suspect pests, do not skip the solar serialization step.
Another mistake is failing to address structure. Reused soil often becomes “dusty” or prone to crusting on the top. This prevents water from penetrating evenly, creating dry spots. Always add some fresh structure-building material like perlite to maintain that essential drainage and air. Your plants need a medium they can breathe in, not a coffin made of old, compacted soil.
Lastly, don’t reuse soil from a plant that was heavily diseased. It’s simply not worth the risk. If a plant was a “special needs” case throughout its life, dump that soil in the flower bed and start fresh for your high-value cannabis. You have to know when to hold ’em and when to fold ’em… and trying to save five dollars worth of soil at the expense of a thousand-dollar harvest makes no sense.
Final Thoughts
Reusing soil is a hallmark frugality, and shows a deep understanding of the plant and the environment it thrives in. By reclaiming your medium, you are stepping away from the “disposable” culture of modern gardening and moving back towards the sustainable, resilient methods that have worked for centuries. It takes a bit more effort, but the results—and the savings—are well worth the labor.
Always remember to check your local laws before embarking on any grow. I’m just a guy sharing 50 years of experience, but you are the one responsible for staying legal in your neck of the woods. Keep it smart, and keep it growing. Strong plants come from a building a strong foundation.
Have you ever re-amended a batch of old soil? Do you make Super soil? Leave me a comment, lets make this post even more helpful!
• Who is the Ghost? (My Reveal)
• Cannabis Growing Guide 2025-2026
• Real Grower Success Stories
• Real Customer Harvest Photos
This article is provided for educational and informational purposes only. It is not intended as cultivation or grow advice, nor does it encourage any illegal activity. All cannabis seeds sold on JustCannabisSeed.com are novelty items, souvenirs, and collectibles only. Germination and cultivation of cannabis seeds may be illegal in your jurisdiction—you are solely responsible for complying with all local, state, and federal laws. We do not condone breaking any laws. For full details, please read our Disclaimer, Terms & Conditions, and Privacy Policy.