Blog
Decarboxylation Techniques For Cannabis
Activate Your Cannabis Like a Pro
Ever harvested beautiful buds only to wonder how to turn them into potent edibles or tinctures? From my own edible making , I’ve discovered that **decarboxylation** is the magic step that makes it all happen.
This simple heat process activates THC and CBD, transforming inactive acids into the compounds we love.Get this right and your edibles will be consistent and powerful.
Whether you’re a beginner testing your first harvest or an expert refining techniques, this guide shares my proven methods, and tips. Let’s master **decarboxylation** together and elevate your cannabis edibles game!
Table of Contents
- What Is Decarboxylation and Why It Matters
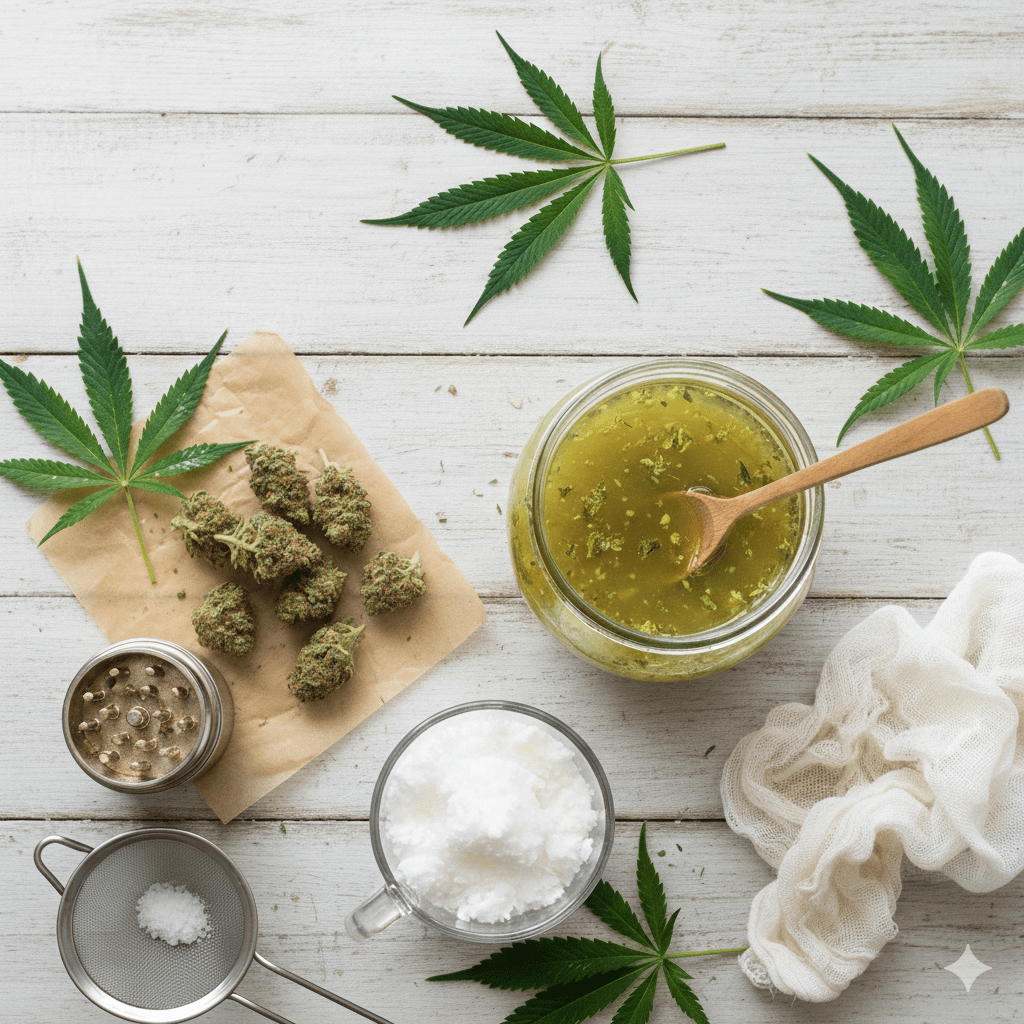
- Preparing Your Cannabis for Decarboxylation
- Classic Oven Decarboxylation Method
- Mason Jar Method for Low Odor Decarboxylation
- Sous Vide Decarboxylation for Precision
- Temperature and Time Chart for Decarboxylation
- Common Mistakes in Cannabis Decarboxylation
- Advanced Decarboxylation Techniques
- Frequently Asked Questions About Decarboxylation
- Final Thoughts on Decarboxylation Techniques
What Is Decarboxylation and Why It Matters
Decarboxylation is the heat-activated process that removes a carboxyl group from cannabinoids like THCA, converting it to psychoactive THC. The same happens for CBDA becoming CBD. Without proper decarboxylation, your edibles or infusions take you there.
Decarboxylation matters hugely for potency and consistency. Additionally, it helps preserve terpenes for better flavor in your final products.
This ties directly to cannabis growing education—knowing decarboxylation encourages better strain choices from the start. For example, high-THCA strains are perfect to decarb.
Always check local laws before growing or processing cannabis, as legality varies by location. In 2026, home growers focus on precise decarb for wellness edibles.
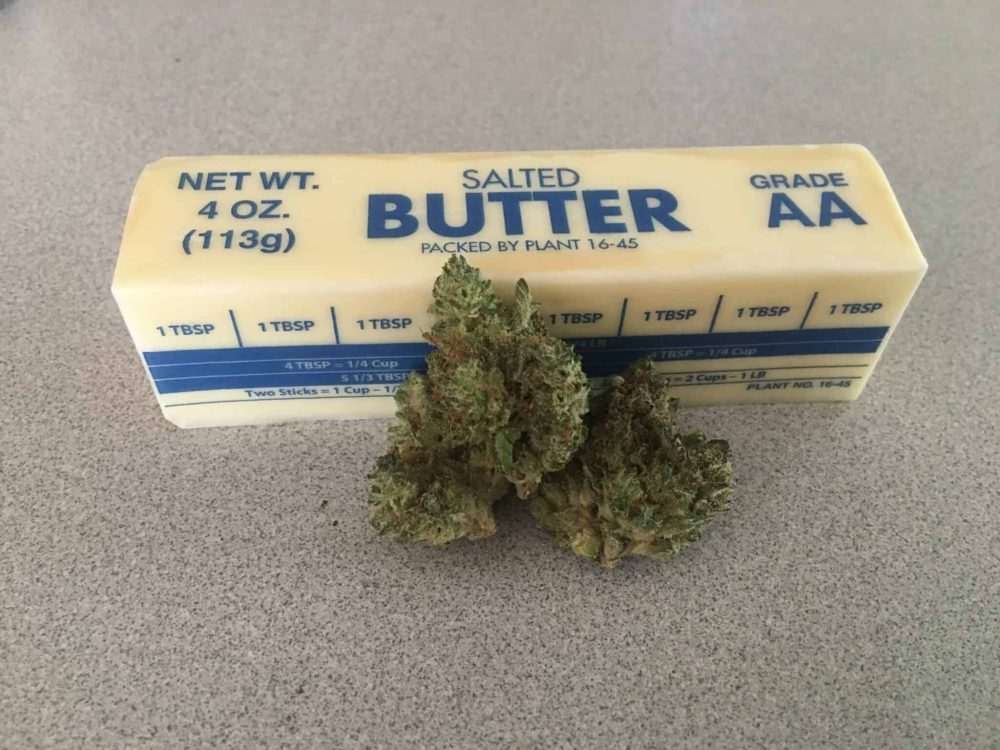
Link this to making cannabutter with tips from our cannabutter recipe. It’s the foundation for potent results from homegrown buds.
Preparing Your Cannabis for Decarboxylation
Preparation sets the stage for successful decarboxylation. Start with fully dried and cured buds from your harvest—fresh or wet material is not recommended. I’ve learned this from early experiments where working with green fresh herb made a big mess…LOL
Coarsely grind your cannabis, not too fine, to avoid bitterness from excess chlorophyll. Aim for a consistency like coarse herbs. From my grows, 7-28 grams per batch works well, depending on your resistance.
However, freezing the ground buds first can burst trichomes for better activation—I’ve tried this with fantastic and it seemed to work well.
For indoor growers, combine this prep with our indoor cannabis growing guide. Work in a ventilated space and use clean tools. This step ensures even heat distribution across methods.
Tie it back to germination success with our germination troubleshooting post—quality starts with quality plants.
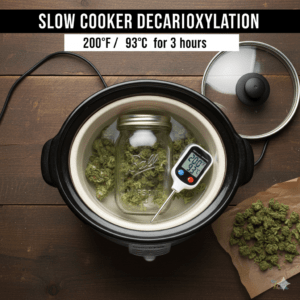
The Slow Cooker Water Method
For a more discreet and gentle approach, the slow cooker is my “set it and forget it” secret. This method is brilliant because the water bath acts as a buffer, preventing the hot spots that can sometimes occur in an oven.
Break your cannabis into pea-sized pieces and place them in a sealed Mason jar. Set a small towel or trivet at the bottom of the slow cooker to keep the glass off the direct heat, then add water until it reaches the level of the herb. Set it to LOW (aiming for roughly 200°F) and let it process for 3 hours.
From my experience, this is the best way to keep the aroma contained—perfect if you have neighbors close by or just want a “smell-free” kitchen.
The lower temperature preserves those delicate terpenes that high heat can destroy. Always let the jar cool completely before opening to allow the vapors to settle back into the flower.
This low-and-slow technique is a game-changer for maintaining the profile of our resilient 2026 strains. It’s the ultimate way to ensure your infusions start with the most potent, full-spectrum base possible.
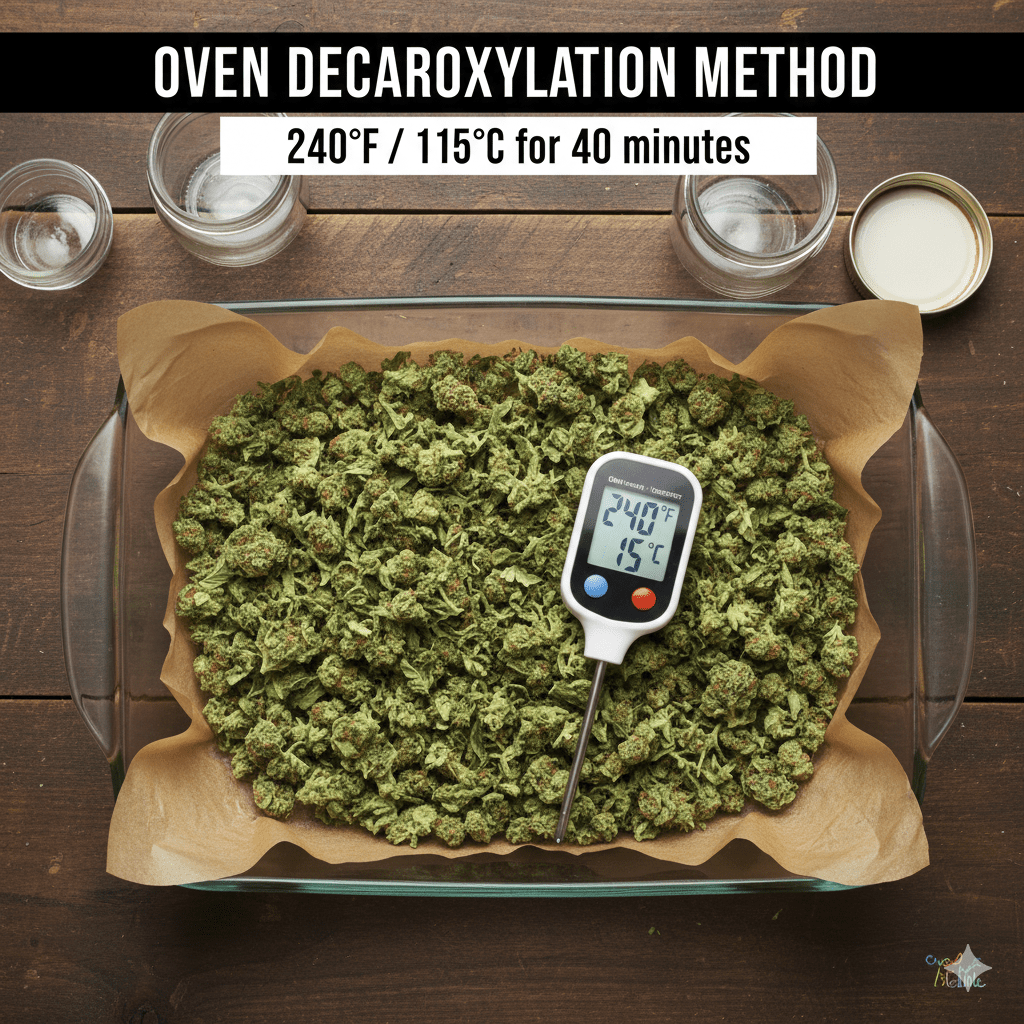
Classic Oven Decarboxylation Method
The classic oven method is a favorite for its simplicity and effectiveness. Preheat your oven to 240°F (115°C)—accuracy matters, so use an oven thermometer…do not relay on the oven dial temp.
Spread the ground cannabis evenly on a parchment-lined baking sheet. Bake for 30-40 minutes, stirring every 10 minutes for uniform exposure. You’ll notice a golden-brown color and nutty aroma when done.
Let it cool completely before using. This method handles larger batches easily, perfect after a big harvest.
For strain ideas that decarb beautifully, check our cannabis seeds overview.
Current 2026 trends favor this temp for balancing potency and terpenes.
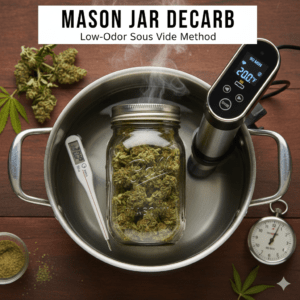
Mason Jar Method for Low Odor Decarboxylation
If odor is a concern—like in my apartment balcony days—the mason jar method is a lifesaver. Place coarsely ground cannabis in a clean mason jar, leaving space, and loosely cap it (don’t seal tight).
Put the jar on a baking sheet and bake at 220-240°F for 60 minutes, gently shaking every 15 minutes. This traps smells while still activating cannabinoids effectively.
I’ve used this discreetly with zero complaints from neighbors. Cool the jar before opening to avoid releasing volatiles. It’s ideal for small-space growers.
This low-odor approach aligns with 2026 urban growing trends, some folks are not on the cannabis train…
Sous Vide Decarboxylation for Precision
For ultimate control, sous vide decarboxylation delivers pro-level consistency. Seal your ground cannabis in a vacuum bag or zip-lock (remove air), then submerge in a water bath set to 203-210°F (95-99°C) for 90 minutes.
From my experiments, this method preserves terpenes best—no hot spots or degradation. It’s hands-off and repeatable every time.
However, it requires equipment, but the results are worth it for tinctures or high-end edibles. In 2026, precision methods like this gain popularity for CBD-focused decarb too.
Enhance yields for more experiments with our big plant growing guide.
Temperature and Time Chart for Decarboxylation
Here’s a practical chart based on proven techniques:
- 220°F (104°C): 60-90 minutes – Gentle, maximizes terpene preservation
- 240°F (115°C): 30-40 minutes – Standard sweet spot for THC activation
- 250°F (121°C): 25-30 minutes – Faster, but riskier for flavor loss
- Sous Vide 203°F: 90 minutes – Precise and even (if you want perfection, this or the slow cooker are awesome)
Adjust based on your oven’s quirks use a thermometer. Lower temps take longer but yield smoother results.
For more on effects, see our THC vs CBD guide.
Common Mistakes in Cannabis Decarboxylation
Avoid these pitfalls I’ve encountered over the years:
- Overheating → Burns cannabinoids, turning buds dark and harsh, and effectively can ‘kill’ the THC.
- Grinding too fine → Releases bitter chlorophyll
- Skipping stirring → Uneven activation
- Not cooling properly → Loses aromatic terpenes
Patience is key—relax and give it time.
Start low and monitor closely for best outcomes.
Advanced Decarboxylation Techniques
Once basics are down, try freezing trichomes pre-decarb for enhanced release. Or use dedicated devices for exact control—2026 favorites include precise herbal activators.
Denser buds from high quality plants like mine work great, read our complete growing guide.
You can experiment with partial decarb for a different effect.
Frequently Asked Questions About Decarboxylation
Do I need to decarb for smoking? No—combustion handles it.
How do I know it’s done? Golden color and nutty scent, and you gave it the time required.
Can I decarb trim or kief? Yes, same methods work great.
What’s the best temperature? 240°F for most. 200 takes longer but preserves the terpenes better.
Explore our blog hub for more related tips on this subject.
Final Thoughts on Decarboxylation Techniques
Mastering decarboxylation techniques bridges growing and consumption beautifully. From my journeys with abundant backyard yields, it’s empowered me to get the most from every plant.
Experiment safely, learn from trials, and enjoy potent, flavorful results.
• Who is the Ghost? (My Reveal)
• Cannabis Growing Guide 2025-2026
• Real Customer Testimonials & Reviews
• Real Customer Harvest Photos
This article is provided for educational and informational purposes only. It is not intended as cultivation or grow advice, nor does it encourage any illegal activity. All cannabis seeds sold on JustCannabisSeed.com are novelty items, souvenirs, and collectibles only. Germination and cultivation of cannabis seeds may be illegal in your jurisdiction—you are solely responsible for complying with all local, state, and federal laws. We do not condone breaking any laws. For full details, please read our Disclaimer, Terms & Conditions, and Privacy Policy.