Blog
How to Make Cannabis Gummies at Home
The Ultimate Beginner’s Guide for Gummies 2026
Have you ever wanted to turn your homegrown harvest into delicious, discreet edibles like cannabis gummies? I’ve been experimenting with homemade edibles for years, and let me tell you—there’s nothing quite like popping a perfectly chewy gummy that you made yourself. Nailing consistent batches that wow friends just takes a little ‘know-how.’
In this guide, I’ll share everything you need to know about making cannabis gummies at home, step by step. Even if you’re a total beginner let’s make this fun and straightforward!
Always check local laws before preparing or consuming cannabis edibles, as legality varies by location.
This is for educational purposes only in regions where it’s permitted.
Table of Contents
- Why Make Your Own Cannabis Gummies?
- Decarboxylation: The Essential First Step
- Ingredients and Tools You’ll Need
- Step-by-Step Cannabis Gummies Recipe
- Flavor and Customization Ideas
- Dosing and Potency Tips
- Common Mistakes and How to Avoid Them
- Storage and Shelf Life
- Final Thoughts on Homemade Cannabis Gummies
Why Make Your Own Cannabis Gummies?
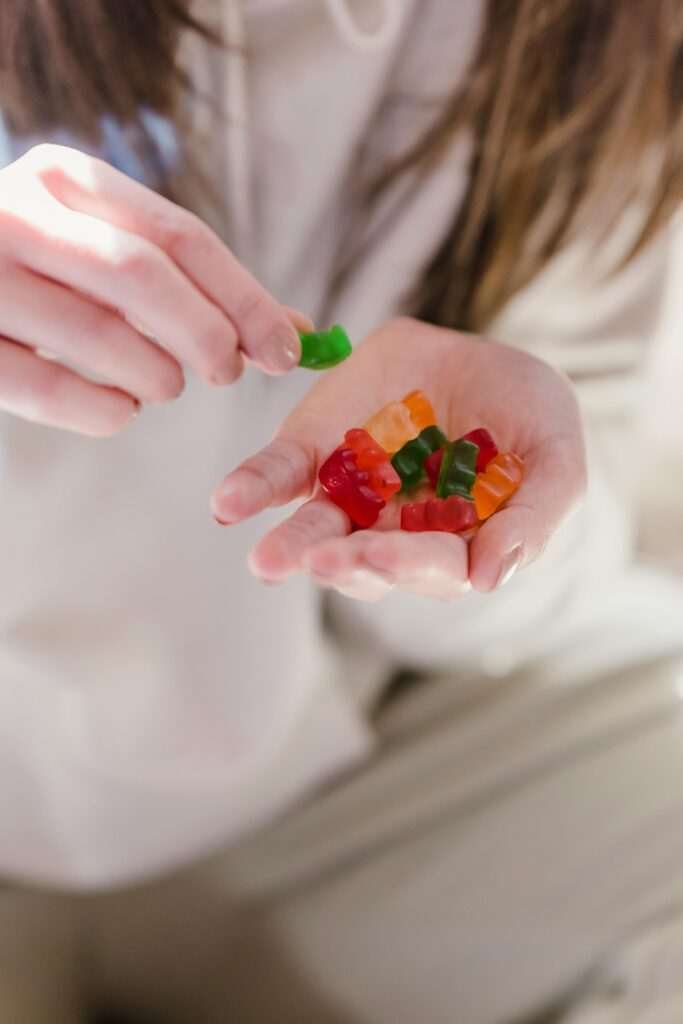
Making cannabis gummies at home gives you full control—from flavor to potency. I remember my first batch back in the day; it was a game-changer after growing my own plants and wanting to preserve the harvest longer. Store-bought options can be expensive and inconsistent (and weak!), but homemade ones let you customize everything.
Plus, they’re discreet, portable, and fun to share (responsibly, of course).
In 2026, with more people focusing on homemade edibles for precision dosing, this skill ties perfectly into growing your own cannabis. If you’ve mastered high germination techniques or SCROG for bigger yields, turning that bud into gummies is the rewarding next step.
Key benefits include:
- Cost savings over pre-made edibles
- Exact control over strength and ingredients
- Endless flavor combinations
- A fun way to extend your harvest
What’s your favorite gummy flavor? Share in the comments—I’m always trying new ideas!
Decarboxylation: The Essential First Step
Before any gummy-making, you must decarboxylate your cannabis. This activates the THC and CBD by heating the raw flower—without it, your gummies won’t have the desired effects.
From my own grows, I’ve skipped this once (big mistake!) and ended up with weak results. Now, it’s non-negotiable. For more on why activation matters, check out resources like Leafly’s guide to decarboxylation.
Quick decarb method I use:
- Grind your dried flower coarsely.
- Spread on a parchment-lined baking sheet.
- Bake at 240°F (115°C) for 30-40 minutes, stirring halfway.
- Cool completely before infusing.
This step ensures maximum potency for your homemade cannabis gummies. Patience here pays off big time!
Ingredients and Tools You’ll Need
Gathering the right stuff makes the process smooth. I keep a dedicated edibles kit in my kitchen now—learned that after messy early attempts.
Basic ingredients for a standard batch (about 50-100 gummies, depending on mold size):
- 1/2 cup fruit juice (apple or grape works best; avoid citrus as it can interfere with setting)
- 3 oz flavored gelatin (like Jell-O—pick your favorite!)
- 2-3 packets unflavored gelatin (for chewiness)
- 1-2 tablespoons honey or sweetener (optional for extra taste)
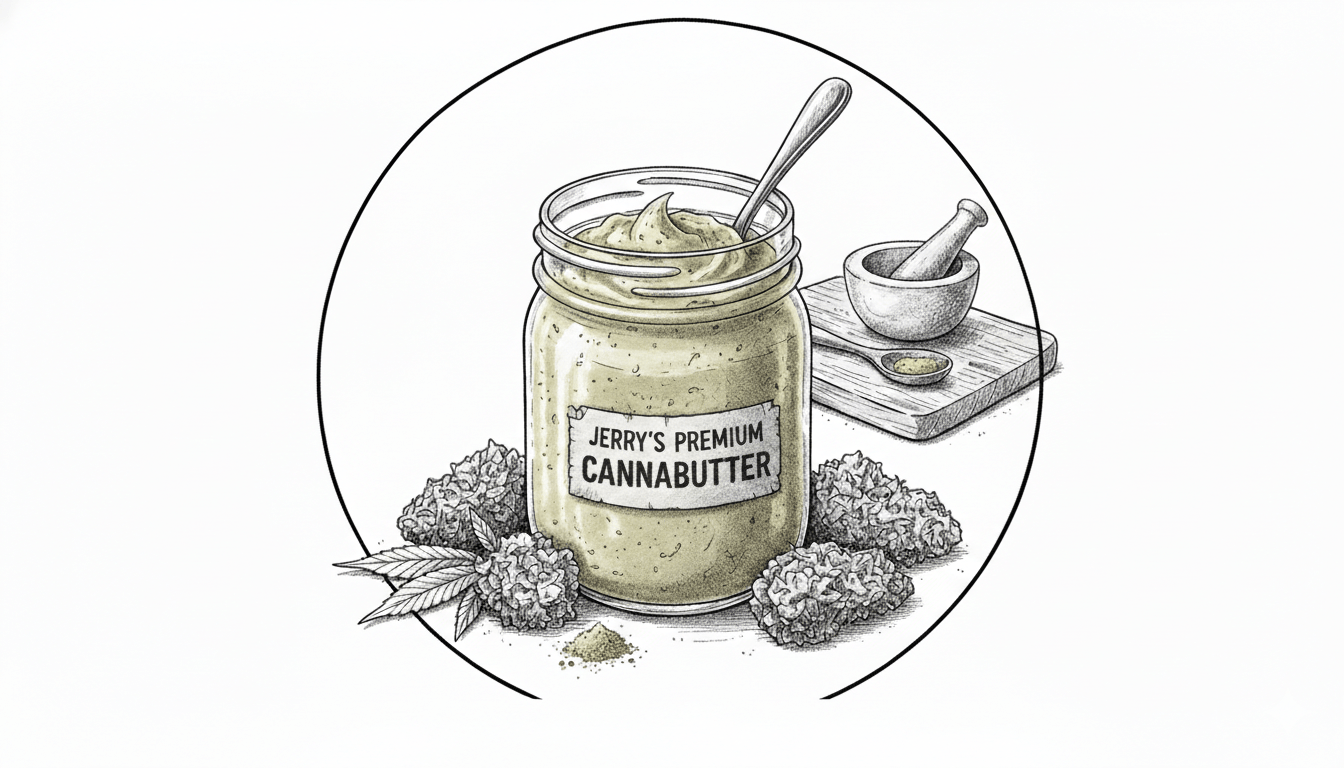
- Decarboxylated cannabis infusion (tincture, infused oil, or water-soluble extract)
- Optional: 1/2 tsp lecithin (helps emulsify for even distribution)
- Optional: Citric acid for sour gummies
Tools:
- Saucepan or double boiler
- Whisk
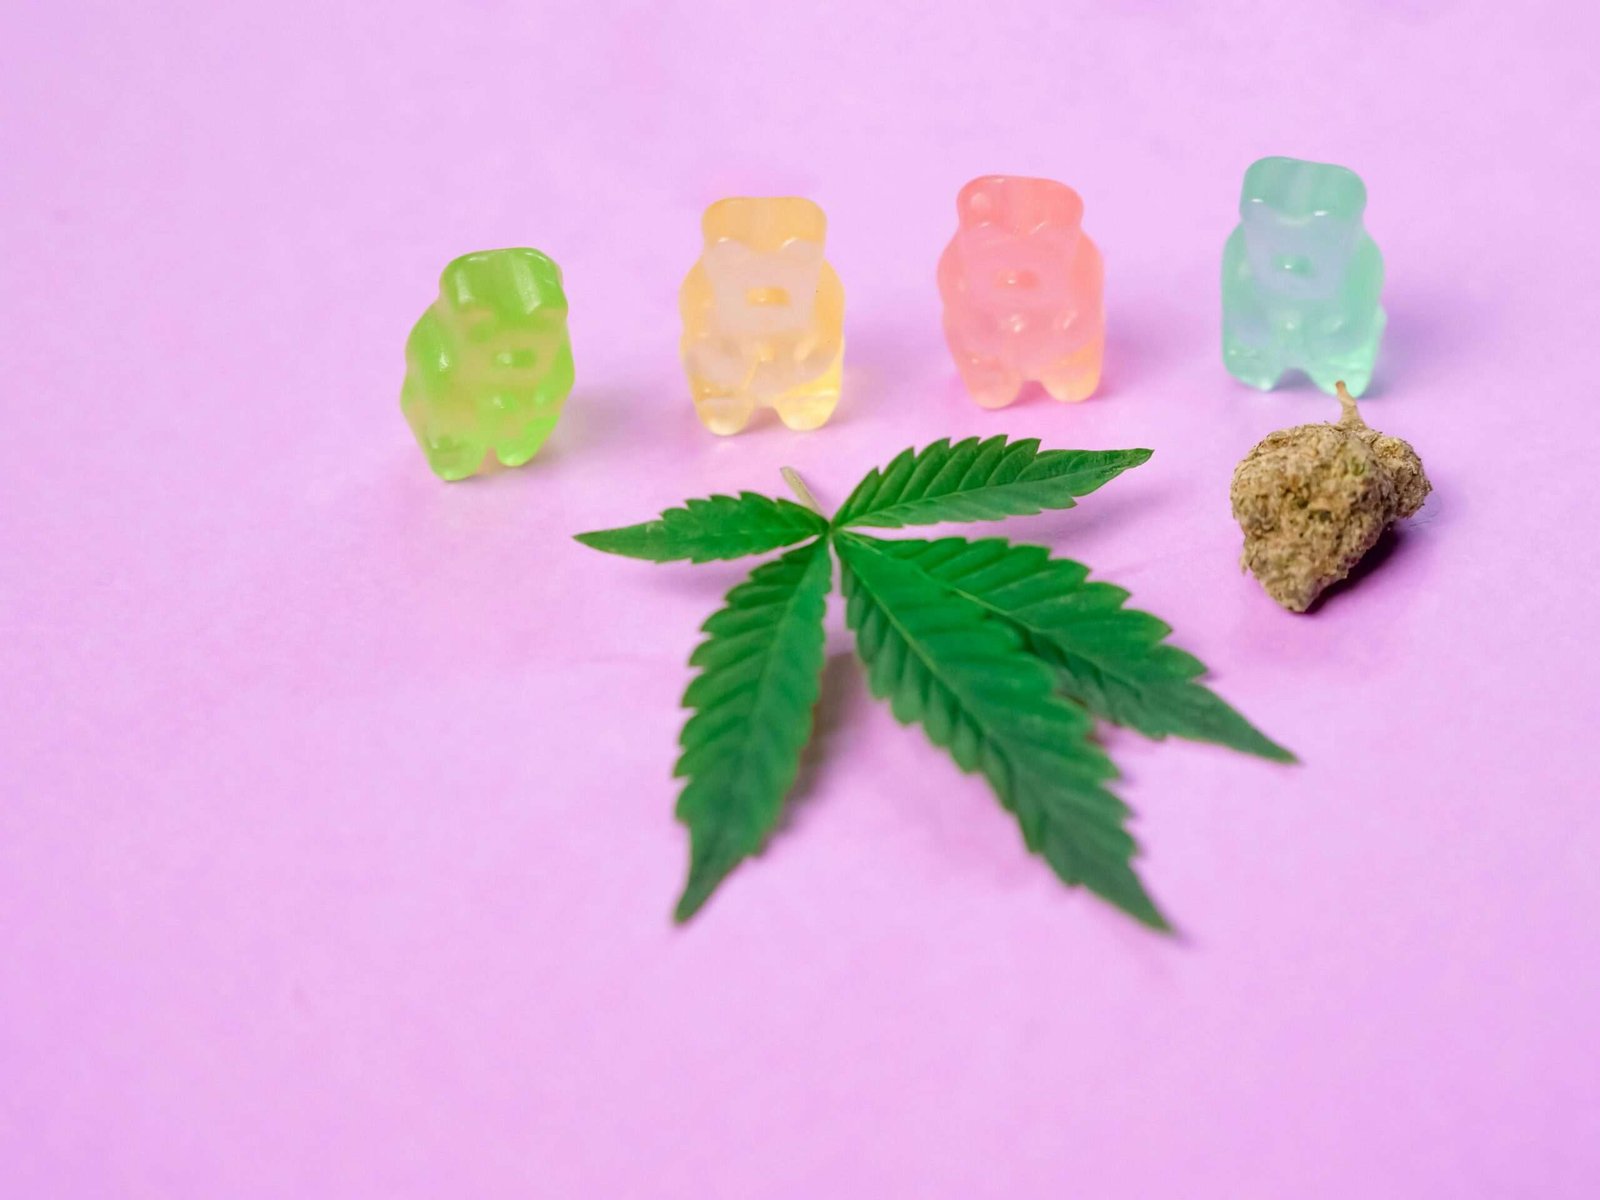
- Silicone gummy molds (bear shapes are classic!)
- Dropper or funnel for pouring
These keep things simple and cleanup easy. For more growing tips to get quality material, see my post on regular weed seeds.
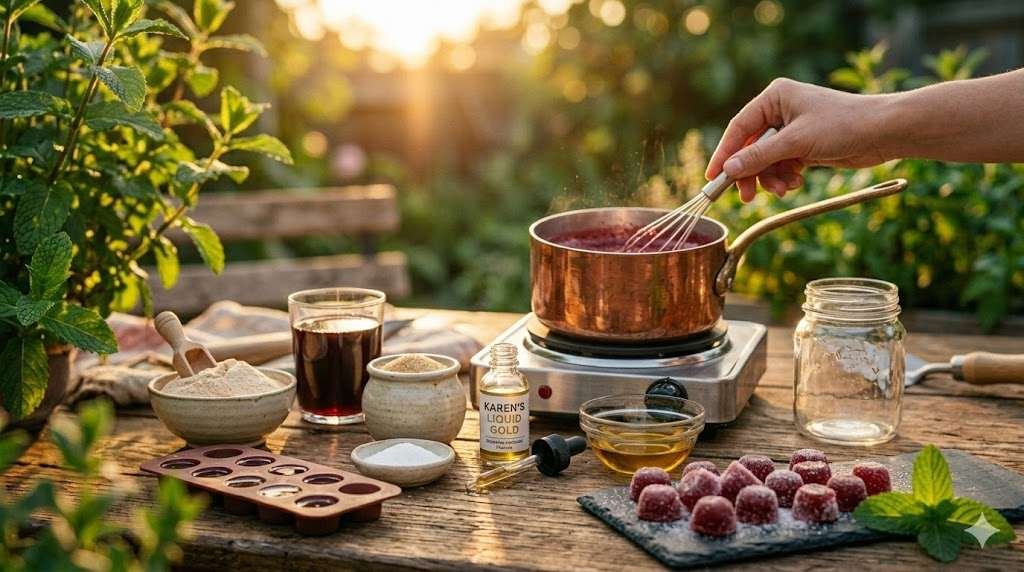
Step-by-Step Cannabis Gummies Recipe
Here’s my go-to recipe that’s reliable every time. I think this produces the perfect texture.
- Bloom the gelatin: Mix unflavored gelatin with cold fruit juice in a bowl. Let it sit 5-10 minutes to swell.
- Heat gently: Warm the mixture in a saucepan over low heat, whisking until fully dissolved.
- Add flavor and infusion: Stir in flavored gelatin, sweetener, lecithin, and your decarbed cannabis infusion. Whisk vigorously for even mixing.
- Pour into molds: Use a dropper to fill silicone molds. Tap to remove bubbles.
- Chill: Refrigerate 30-60 minutes until firm.
- Demold and coat (optional): Pop out gummies and toss in sugar or citric acid mix for a pro finish, especially if they are sticky at all.
Bolded tip: Low and slow heat is key—rushing this step leads to separation or weak effects.
This yields chewy, potent cannabis gummies. Experiment with amounts once you’re comfortable, this is really a personal preference.
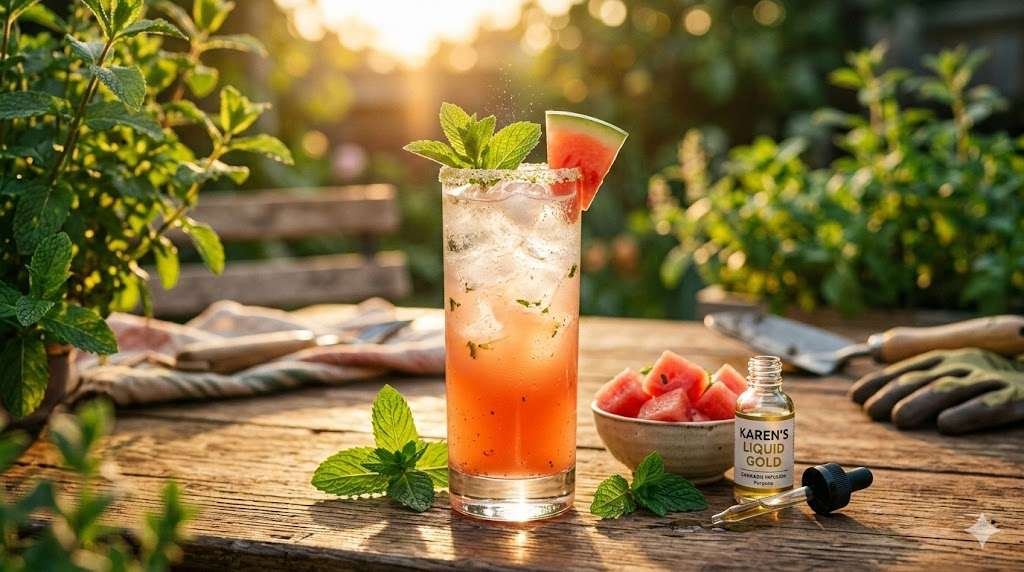
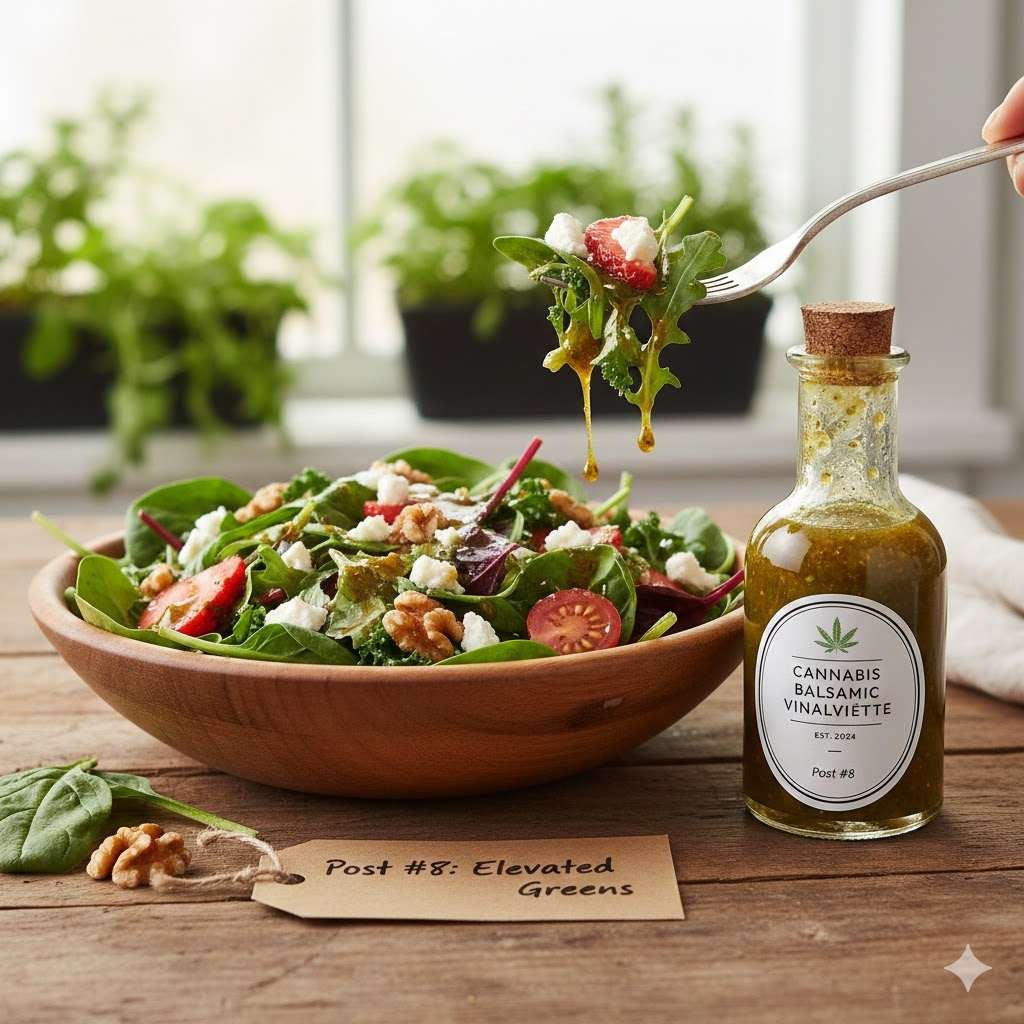
Flavor and Customization Ideas
Customization is where the fun really begins. I’ve made everything from tropical punch to sour apple—friends always ask for more.
Try mixing juices for unique blends, or add purees for natural fruit chunks. Vegan? Swap gelatin for agar-agar. For sour gummies, that citric acid coating is a game-changer.
Popular combos in 2026 trends include berry mixes or herbal additions like ginger for digestion. Tie this back to your grows by using strains that complement flavors—energizing sativas for citrus, relaxing indicas for berry.
What flavor combo are you itching to try? Are you a gummie expert, please comment.
Dosing and Potency Tips
Dosing is crucial—start low and go slow. I always calculate based on my infusion’s strength and divide by gummy count. Experimentally dose cautiously.
For beginners, aim for 5-10mg per gummy. Test one and wait 2 hours before more. Factors like tolerance and metabolism vary results.
Responsible enjoyment keeps it fun, and from my experience over dosing is never fun.
Pro tip: Label batches clearly with potency and date.
Common Mistakes and How to Avoid Them
I’ve made most of these—learn from my flops!
- Overheating: Destroys cannabinoids. Use a thermometer and stay under 200°F.
- Uneven mixing: Leads to hot spots. Fix: Whisk constantly.
- Wrong molds: Silicone only.
- Skipping decarb: Always use activated.
- Impatience with setting: give them time to set up.
Avoid these, and your homemade cannabis gummies will turn out perfect.
Storage and Shelf Life
Store in an airtight container in the fridge for up to 2 weeks, or freezer for months. Add a silica packet to prevent moisture.
From experience, proper storage keeps texture chewy and potency strong. Avoid heat or humidity.
Final Thoughts on Homemade Cannabis Gummies
Making cannabis gummies at home has been one of my favorite ways to enjoy the full cycle of growing—from seed to edible. It’s rewarding, customizable, and ties everything together. Give this recipe a try, start small, and have fun experimenting!
What’s your biggest takeaway or question? Share your gummy-making stories below—I love hearing from fellow growers. For more tips, explore guides like in-house genetics or the full blog.
• Who is the Ghost? (My Reveal)
• Cannabis Growing Guide 2025-2026
• Real Customer Testimonials & Reviews
• Real Customer Harvest Photos
This article is provided for educational and informational purposes only. It is not intended as cultivation or grow advice, nor does it encourage any illegal activity. All cannabis seeds sold on JustCannabisSeed.com are novelty items, souvenirs, and collectibles only. Germination and cultivation of cannabis seeds may be illegal in your jurisdiction—you are solely responsible for complying with all local, state, and federal laws. We do not condone breaking any laws. For full details, please read our Disclaimer, Terms & Conditions, and Privacy Policy.


Your missing key information on these alleged instructions because you fail to disclose how much infused oil to add to the recipe. This is a major fail and I had this recipe bookmarked but I had to delete it for a massive flaw in your infused recipe.
What is the flaw, and I will include it in the article.