Blog
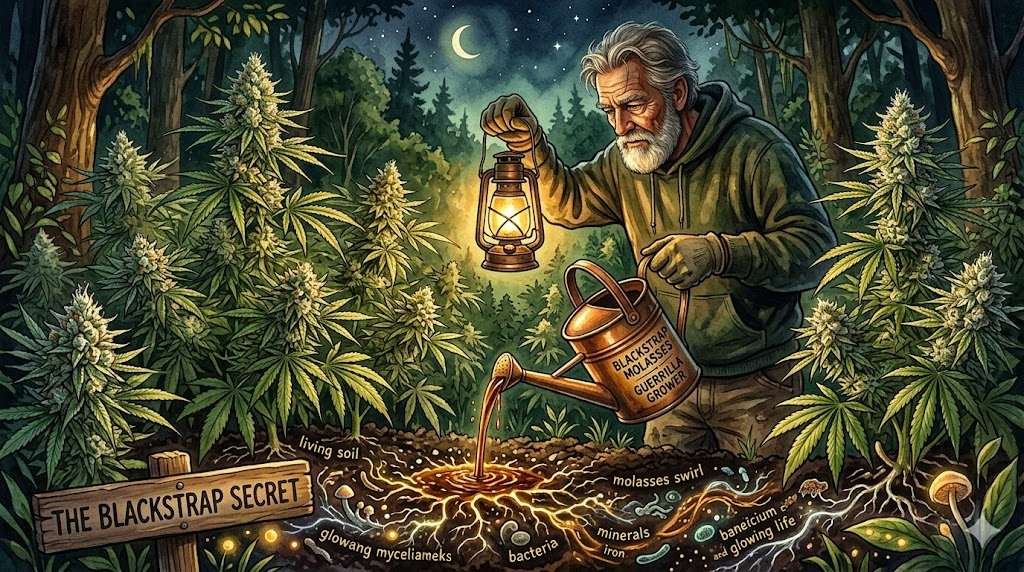
DIY Slow Release Fertilizer for Guerrilla Growing

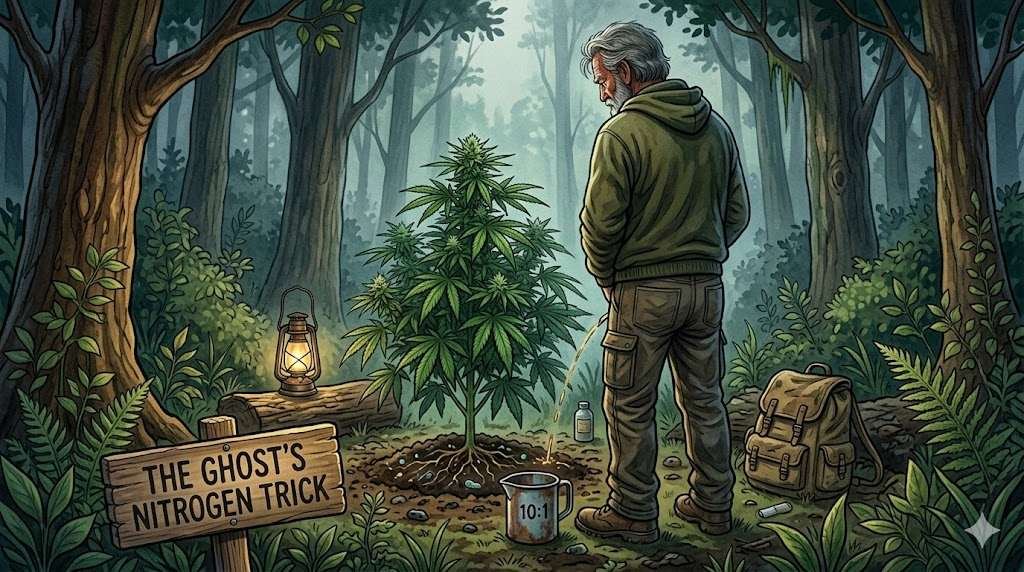
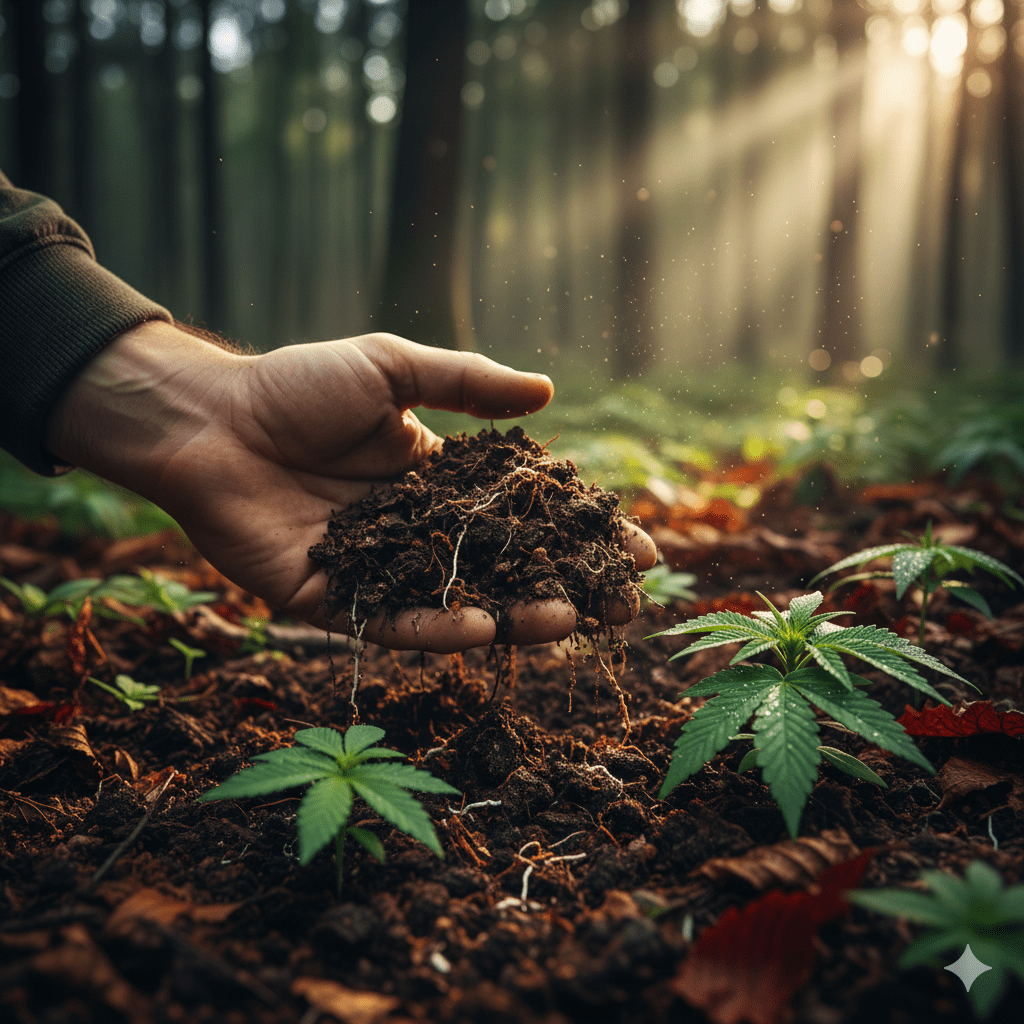
Feed Your Plants Like a Ghost
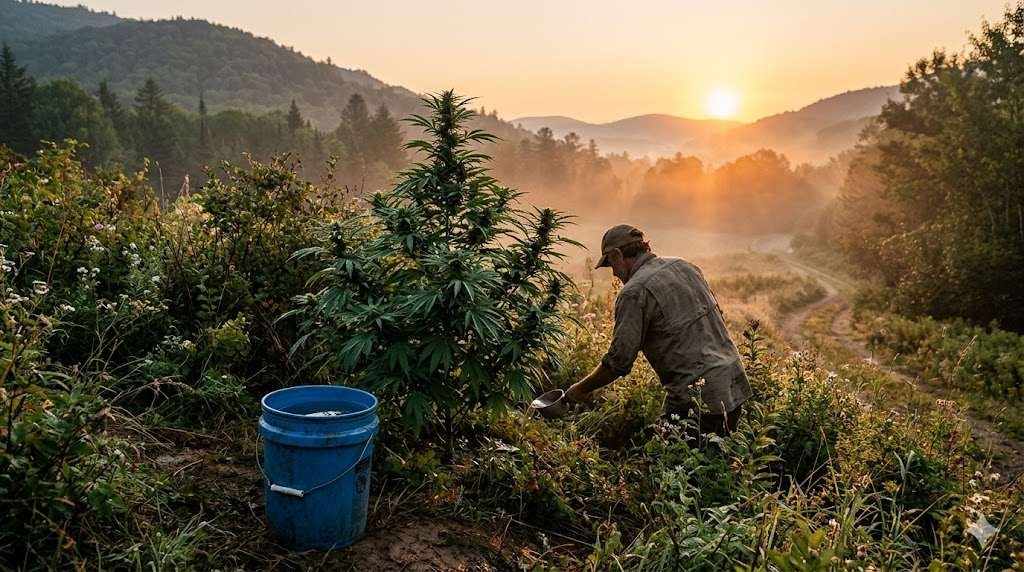
Jerry here. If you’ve been following my journey, you know I’ve spent over 50 years growing our favorite plant, and a good chunk of that time was spent as “The Ghost”—growing in secret spots out and about. When you are out in the wild, the biggest challenge is keeping your ladies fed without visiting too often.
That is why mastering a DIY fertilizer that releases slowly over time is the absolute holy grail for any serious guerrilla gardener. You want to set it, forget it, and come back to colas that are fatter than your arm…it does not always work that way, but it is awesome when it does.
Some spots this is just the right approach, especially if you do not have to visit often because the plants roots have reached ground water. If that is the care it just makes sense to feed enough that you do not need to go back. I have literally put in a patch, watered them in with a good water soluble fertilizer and not went back till harvest. This can work because I would water the plants in with 10-20 gallons of fertilizer water.
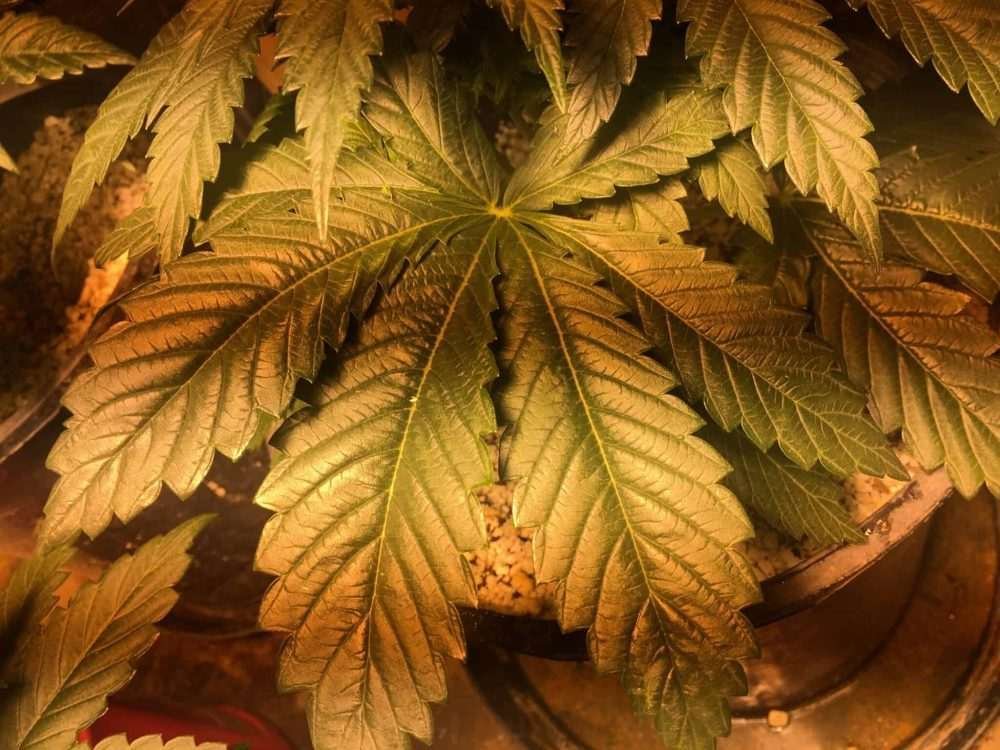
I am completely organic, and will take advantage of any manures I can get my hands on, whether it is from a field of cows or horses, or wild animals. Everyone knows about bat guano, but did you know you can get the equivalent for free? Here is how…pretty much wherever you live you can go out and find where swallows are nesting, could be Chimney Swifts, Cliff Swallows, ect. You can see a nesting site in the image below…

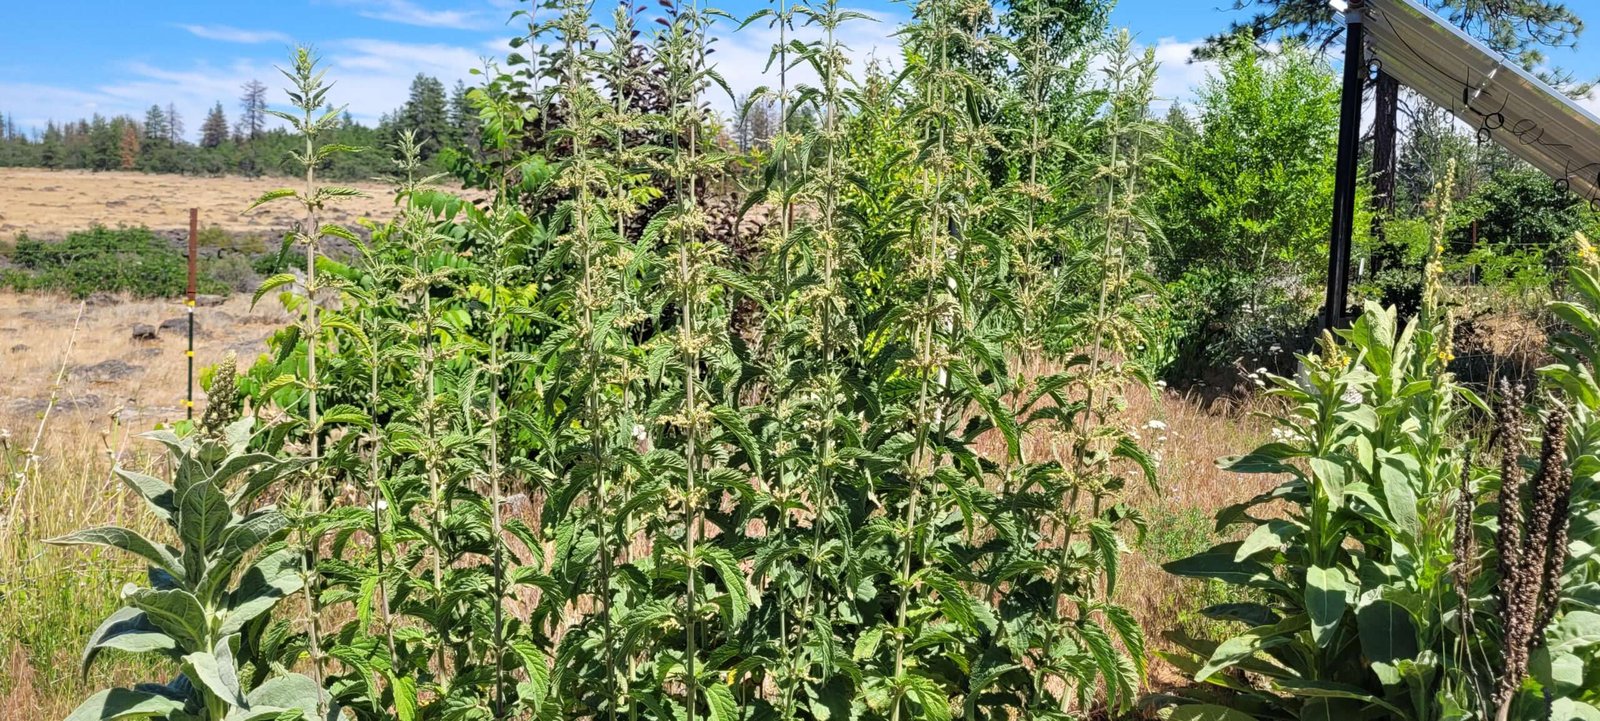
You can collect this guano and simply keep it at your grow site. I have used it extensively in veg, I generally feed a high nitrogen fertilizer throughout veg, to get the plants as big as they can get before bloom begins. I have grown 15 foot tall plants using only this.

Bird Guano
Disclaimer: Always check local laws before growing cannabis, as legality varies by location. This guide is for educational purposes only for those in legal jurisdictions. Grow smart and stay hidden!
Table of Contents
- Why Guerrilla Growers Need Slow Release DIY Fertilizer
- The Foundation: Building an Organic “Pantry” in the Soil
- Ghostly Fertilizer Tea Bags: The Stealthy Way to Feed
- Blood, Bone, and Kelp: Balancing Your N-P-K Naturally
- How to Apply Your DIY Fertilizer Without Being Seen
- Common Guerrilla Feeding Mistakes to Avoid
- Final Thoughts from the Shadows
Why Guerrilla Growers Need Slow Release DIY Fertilizer
When you are guerrilla growing cannabis, your biggest enemy isn’t the pests or the weather—it can be your own frequency of visits. Every time you go to your spot, you’re leaving a trail that could lead someone right to your grow.
A high-quality DIY fertilizer that releases slowly allows you to cut your visits down to a minimum. Instead of feeding every week, you’re building a “slow-release battery” directly into the soil that provides a steady stream of nitrogen, phosphorus, and potassium as the organic matter breaks down. This is the heart of guerrilla cannabis nutrition.
I’ve learned from 50 years of experience that nature works on a slow clock.
In a forest, trees aren’t fed with liquid chemicals; they are fed by the slow decomposition of leaves and wood. By mimicking this with your own homemade cannabis nutrients, you’re giving the plant a more stable environment. This prevents the “nute burn” that often happens with high-salt synthetic fertilizers.
Additionally, slow-release organics improve the soil structure and encourage beneficial microbes to move in. When the soil is alive, the plant is happy, and a happy plant is much more resistant to the stresses of the wild. It’s about working with the earth and nature, not against it
The Foundation: Building an Organic “Pantry” in the Soil
To build a stealth guerrilla grow site that survives on its own, you need to prep the “pantry” before the plants get planted. My favorite way to do this is by amending the native soil with long-lasting organic solids. I’m talking about things that take time to fully break down.
From my own grows, I’ve found that mixing in a healthy amount of organic matter you find onsite provides a solid base that lasts all season.
I like to dig a deep planting hole 2+ feet deep, then fill the lower 1/3 rd with organic matter, leaves, leaf mold, and natural compost….with some high nitrogen organic fertilizer mixed in as well. Cover this with a few inches of soil, and plant your plant.
Natural Compost
You can find natural compost just about anywhere you go out and about.
How?
By taking advantage of natures compost pile! What I mean by that is…in nature every year trees lose their leaves, and annual plants die, fall to the ground and begin to compose. This is natures compost pile.
If there are few plants natures compost is a very thin layer right on top. If you are under trees, there will likely be a layer of leaves from the previous 4 or 5 years. Dig down through those leaves and you will find a layer of the best compost nature has to offer…perfect for growing your cannabis.
Put some of this in your planting hole, add a bit of high nitrogen fertilizer and you will send all the microbes into high gear, breaking down the rest of the organic matter in your planting hole to usable plant nutrients. A DIY slow release fertilizer system.
Pro Tip: Mulch heavily with this same natural compost, not only keeping competing weeds to a minimum, but this adds significantly to your slow release fertlizer system.
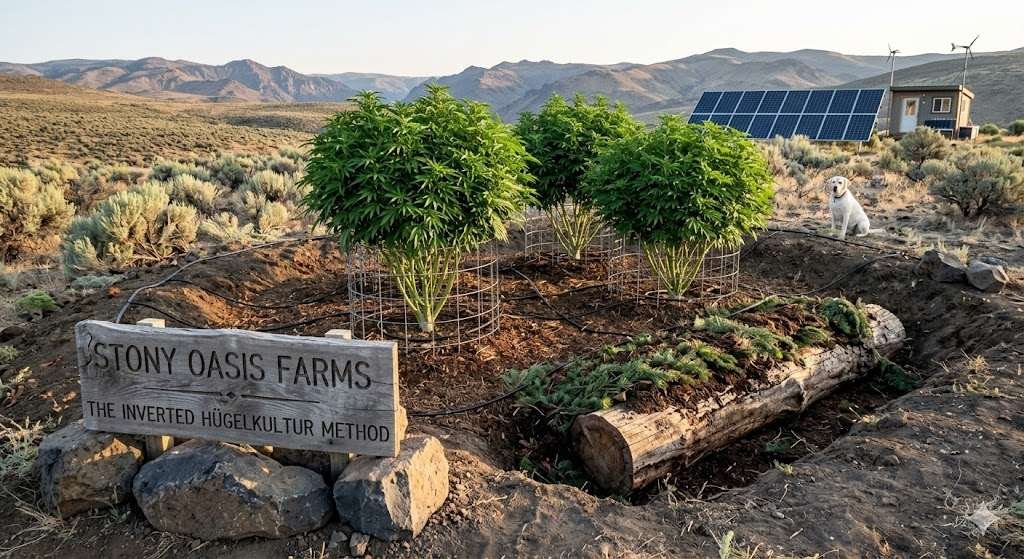
If you are using the Dryland Hugelkultur method, the buried wood acts as a sponge and a slow-release carbon source that keeps the microbial “micro-herd” fed for years. It is alot of work, but make subsequent years of planting in the same spot a breeze.
Ghostly Fertilizer Tea Bags: The Stealthy Way to Feed
Another innovative way to provide a DIY fertilizer in the wild is what I call “The Ghost Tea Bag.” You simply create a concentrated dry mix inside a burlap sack or a large nylon stocking of some of your favorite ferts.
You bury this “tea bag” just a few inches below the soils surface, within the drip zone of your plant. Every time it rains (or you water), a “shot” of nutrients is delivered directly to the root zone.
It’s like a natural drip-irrigation system that you only have to set up once.
I remember one spot I had in a particularly rainy part of the state (it is what WA is known for). I was worried the nutrients would all wash away. I made one of these “tea bags” using a mix of bird guano, kelp meal, and worm castings. I buried them around the perimeter of the planting hole. Those plants stayed a deep, healthy green while the wild weeds around them were turning yellow from the heavy rains leaching the soil.
It was a perfect success!
Additionally, this method keeps your cannabis garden camouflage intact because there are no bright-colored bottles or plastic spikes for a hiker to stumble across. Everything is buried and natural.
Blood, Bone, and Kelp: Balancing Your N-P-K Naturally
To make a truly effective DIY fertilizer, you have to understand the “Big Three”: Nitrogen (N), Phosphorus (P), and Potassium (K). For a guerrilla grow, you need different balances at different times. Early on, you want high Nitrogen for those big sun-catching leaves. Blood meal is a fantastic, slow-release source for this. For the flowering stage, you want to switch to high Phosphorus and Potassium. This is where bone meal and other high Phosphorus organic ferts come in.
I’ve learned that a “layered” approach works best—put the Nitrogen-heavy amendments near the top (or mix in their water) and the Phosphorus-heavy ones deeper down where the roots will reach them just as the plant starts to bud.
Don’t forget the micronutrients! Kelp meal is the “Ghost’s” secret weapon. It contains over 60 trace minerals and growth hormones that help the plant handle the heat and drought stress common in guerrilla growing cannabis in dry climates. It’s like a multivitamin for your cannabis. You can mix these ingredients into your “tea bags” or blend them directly into the soil during your guerrilla site prep.
Pro Tip: Remember: organics take time to become “available” to the plant, so get them in the ground early!
How to Apply Your DIY Fertilizer Without Being Seen
The “how” is just as important as the “what.” When applying your DIY fertilizer, you have to move like a ghost. I never carry big, branded bags into the woods. I transfer my mixes into my backpack. Always have a reason for being there…carry a fishing pole and tackle, carry a camera because you a photographing nature. If you say you are just hiking, look like a hiker.

Being fully camoed makes you look like a grower, I use to simply wear regular clothes that just so happened to blend in.
From my experience, pest management for cannabis starts with how you fertilize. If you are planting in a spot that has lots of wild animals blood meal, and fish ferts can be a no no.
A Bear Took an Interest
I once plant cannabis way up in the woods along a creek. I wanted to be in and out quickly so decide to use pelleted fish fertilizer from Alaska. So dug my planting hole, collected some beautiful natural compost from near by.
I mixed the fish ferts in the compost and put a good layer in the bottom of each planting hole. When I returned to care for my plants a few weeks later, every plant was dug neatly up, and the entire hole was emptied…by a very big black bear! He was of course looking for that damn fish he knew was there somewhere.
Bears, raccoons, and other critters can take notice if they think there may be food present…just so you know.
Common Guerrilla Feeding Mistakes to Avoid
Even after 50 years of growing our favorite plant, I still see folks making the same mistakes.
The biggest one is over-feeding. It’s easy to think that if a little DIY fertilizer is good, then a lot must be better.
Wrong!
In the wild, an over-fed plant can become a magnet for pests and can even catastrophically die (yes I have killed my plants outright before). You want steady, sturdy growth,and not try to push them too hard.
Here are a few other pitfalls to watch for:
- Unbalanced pH: Some organic amendments like wood ash can skyrocket your pH.
- Attracting Animals: As I mentioned, the type of fertilizer is key. Bone meal and blood meal are basically “dinner bells” for scavengers.
- Poor Timing: Don’t add high-nitrogen fertilizer too late in the season, or your buds may suffer.
- Leaving Trash: Never leave anything at the site. Pack it in, pack it out! Leave every spot better then you found it!
- Ignoring the Rain or Lack Thereof: Keep an eye on the weather, and always have your girls in mind.
.If you’re using autoflower seeds, remember they have a much shorter “feeding window,” so your DIY fertilizer needs to be ready to go from day one.
For more tips on managing your outdoor grow, take a look at our guide on how to hide the smell of an outdoor grow.
Scent management and nutrition go hand-in-hand when you’re trying to stay under the radar.
Final Thoughts from the Shadows
Mastering the art of DIY fertilizer for guerrilla growing is one of the most liberating things you can do as a cultivator.
It takes the power away from the big nutrient companies and puts it back into your hands—and the earth’s. When you can walk away from a patch knowing your plants have everything they need to thrive for the next month, that is true peace of mind.
It’s the “Ghost” way: staying invisible, staying efficient, and producing world-class herb in the middle of nowhere. It builds a deeper connection between you and this amazing plant.
I’m curious—what’s the weirdest thing you’ve ever used as a fertilizer in the wild? Have any of you tried the “tea bag” method before? Share your stories in the comments or send me a text!
I love hearing about your experiments in the field. If you’re ready to start your next guerrilla adventure, check out our blog for more tips on low stress training and testing seed viability. Let’s keep the tradition of the “Ghostly” grower alive and well. Happy guerrilla growing everyone, and stay ghostly!
• Who is the Ghost? (My Reveal)
• Cannabis Growing Guide 2025-2026
• Real Customer Testimonials & Reviews
• Real Customer Harvest Photos
This article is provided for educational and informational purposes only. It is not intended as cultivation or grow advice, nor does it encourage any illegal activity. All cannabis seeds sold on JustCannabisSeed.com are novelty items, souvenirs, and collectibles only. Germination and cultivation of cannabis seeds may be illegal in your jurisdiction—you are solely responsible for complying with all local, state, and federal laws. We do not condone breaking any laws. For full details, please read our Disclaimer, Terms & Conditions, and Privacy Policy.