Blog
Growing Cannabis in 100% Recycled Soil: The Ghost’s Secret to Living Di
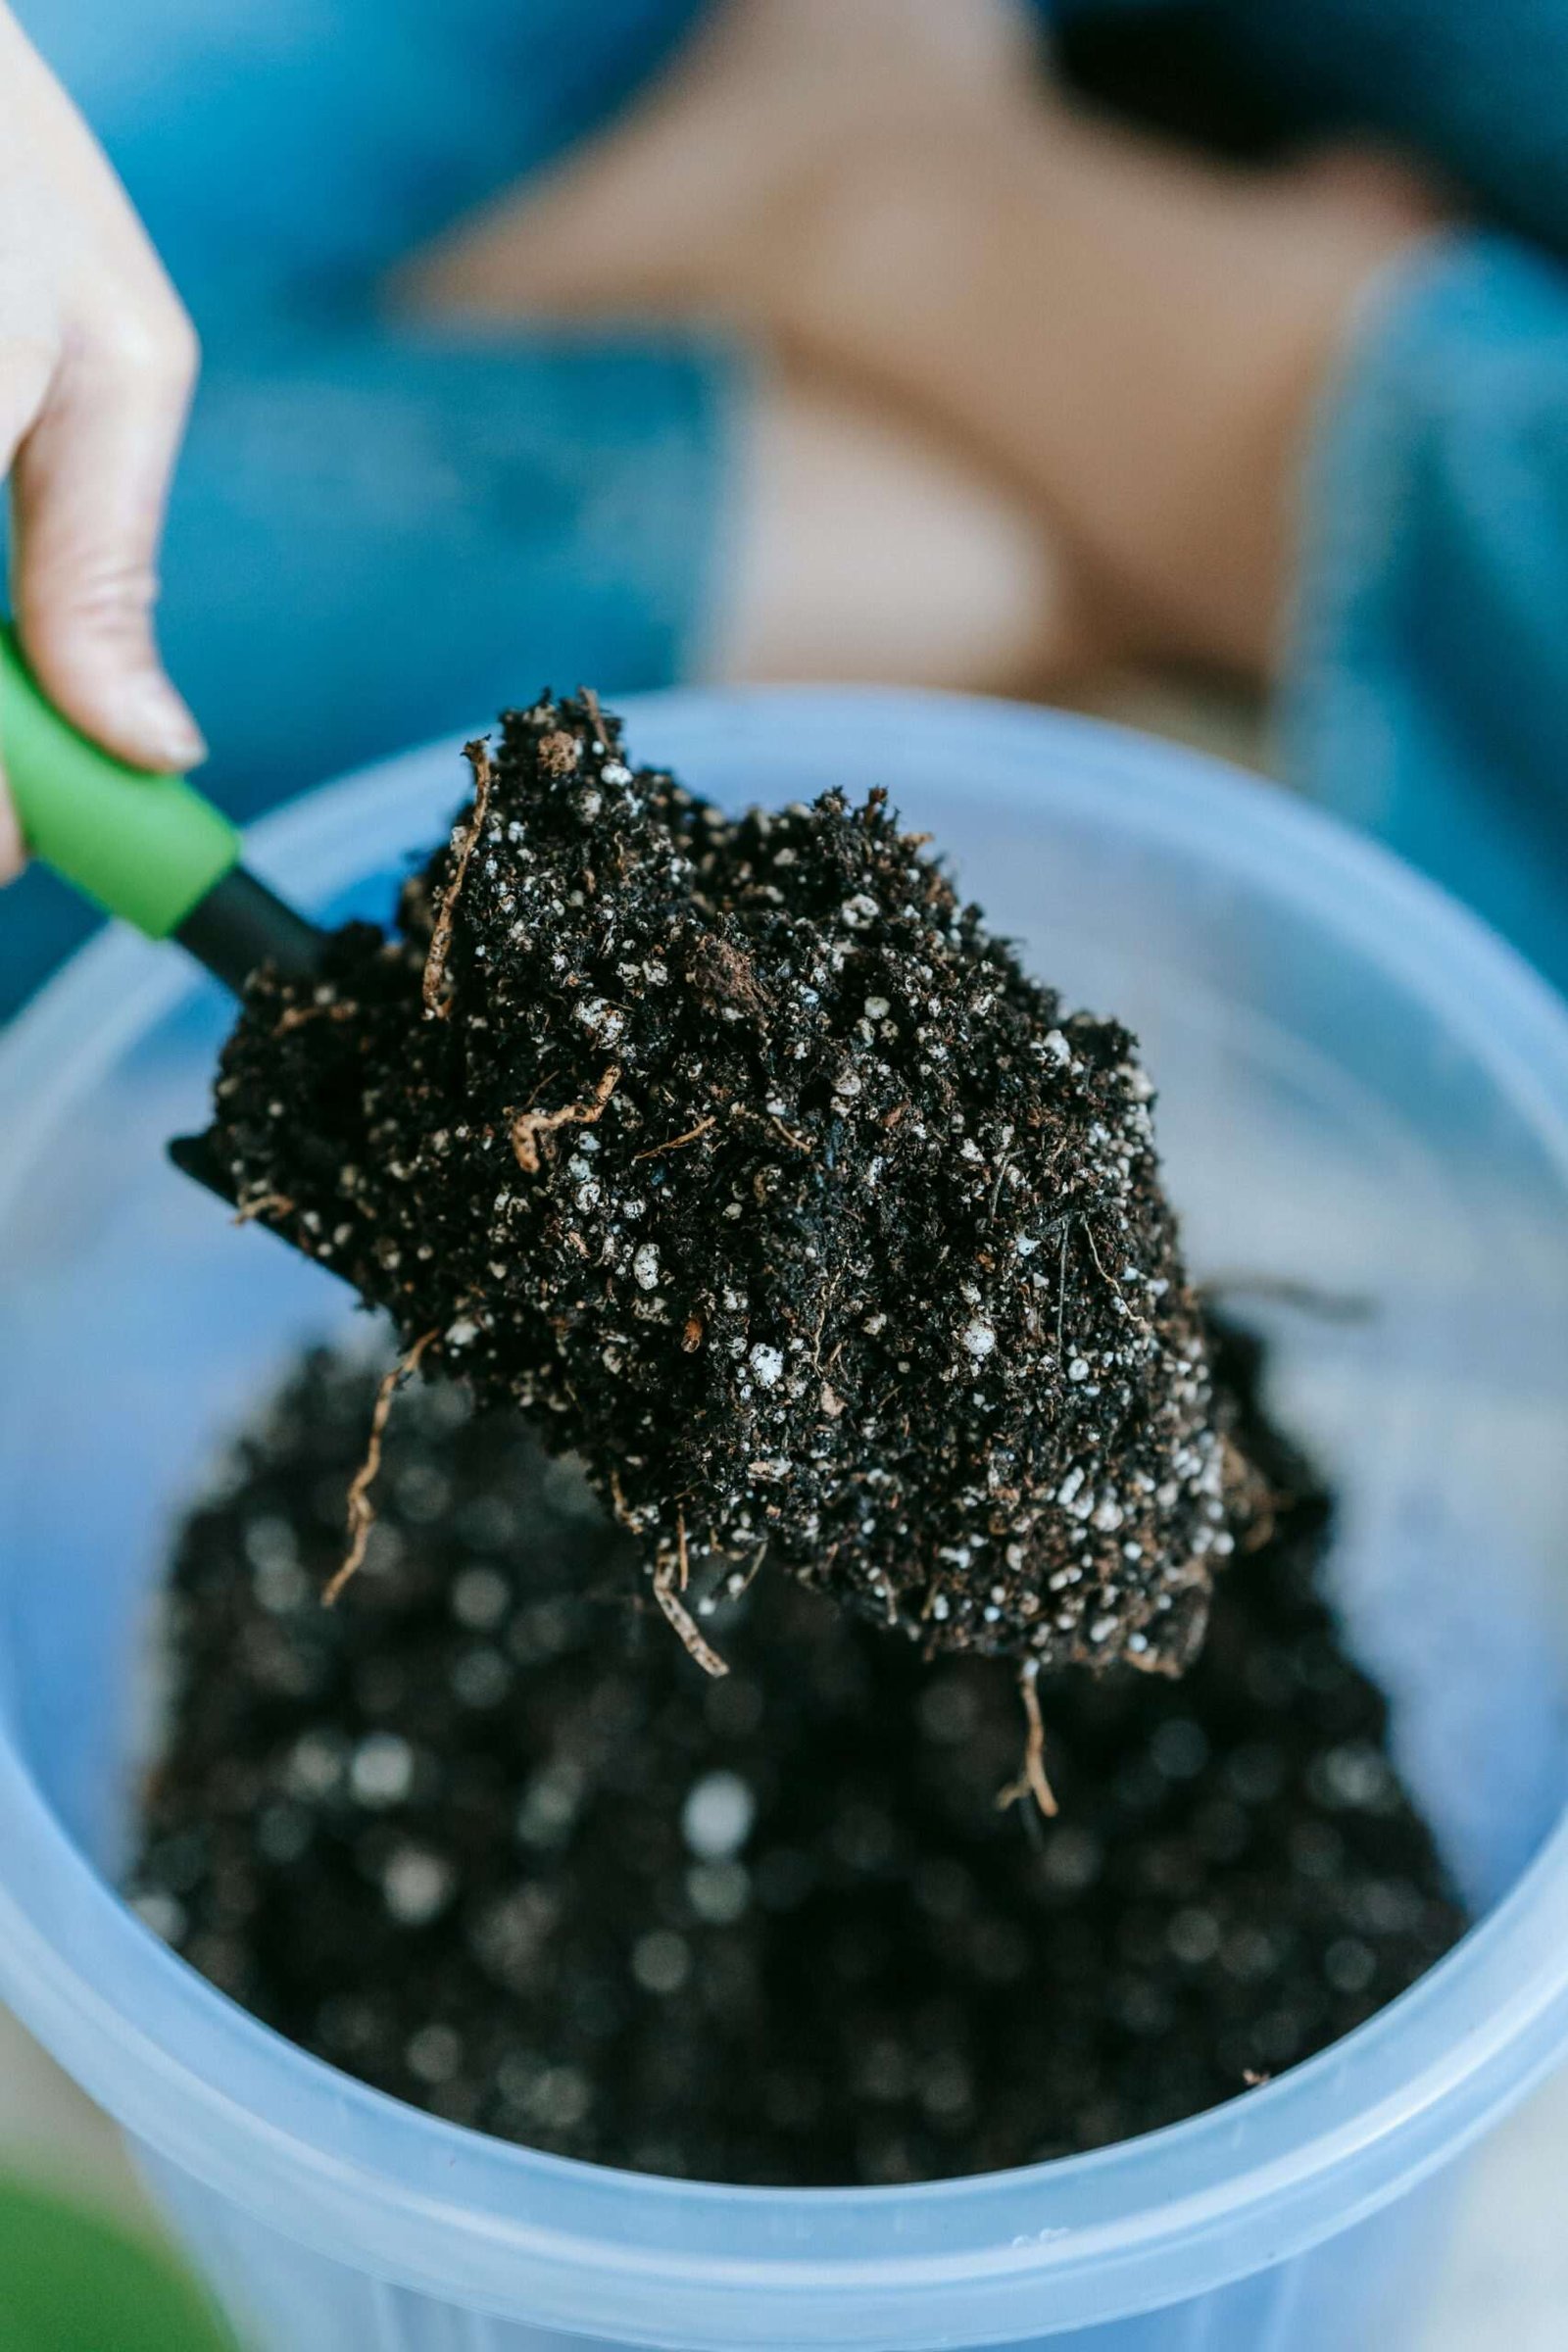
Reuse Soil For Your Next Cannabis Grow
Jerry here, though many of you know me as The Ghost. Have you ever finished a harvest and looked at those huge pots of spent dirt, wondering if you really have to lug them all to the trash and go spend another $100 on new bags of soil?
I’ve been there, and let me tell you—after 50 years of growing plants, I’ve learned that growing cannabis in 100% recycled soil isn’t just a way to save money; it’s actually how you grow the best, most terpene-rich bud. Why throw away perfectly good soil when you’ve already spent months building up its structure? It’s like throwing away a perfectly seasoned cast-iron skillet just because it’s dirty!
I like to grow cheap when I can. And the high dollar soil like happy Frog or Ocean Forest (two brands popular in my neck of the woods) can be a big expenditure…especially if you are growing many plants.
From my own grows, especially when I was deep in my guerrilla growing years, I didn’t have the luxury of hauling 50-pound bags of store-bought mix into the middle of nowhere. I had to learn how to keep the soil I had alive and thriving year after year. I’ve learned the hard way that if you just reuse old soil without “recharging” it, your plants can come out stunted or even yellow. But, if you do it right, your soil becomes a “living” entity that gets better and more powerful with every single crop. Today, I’m pulling back the curtain on how to turn your old potting mix into a sustainable, high-performance medium for your next round of seeds. Let’s get our hands dirty!
Disclaimer: Always check local laws before growing cannabis, as legality varies by location. The information provided here is for educational purposes for those in legal jurisdictions.
Table of Contents
- Why You Should Stop Throwing Away Your Old Soil
- Recharging the Battery: How to Re-Amend Used Soil
- Microbes and Mycorrhizae: The Secret to Living Dirt
- The Great Cleanse: Dealing with Salt Buildup
- Step-by-Step Guide to Recycling Your Cannabis Soil
- Common Mistakes with Recycled Soil to Avoid
- Final Thoughts from The Ghost
Why You Should Stop Throwing Away Your Old Soil
In the world of growing cannabis in 100% recycled soil, I treat potting soil as an investment. When you buy a fresh bag of high-quality organic potting soil, you’re paying for the peat, the aeration (like perlite), and the initial nutrients. However, as the plant grows, it develops a massive network of roots and beneficial fungi that actually improve the soil’s structure over time. By the end of the harvest, that soil is full of organic matter that is just waiting to be broken down into food for your next plant. Throwing it away is essentially throwing away a half-finished compost pile that you’ve already worked so hard on.
What could be better for a growing cannabis plant than a composted cannabis plant, or at least it’s roots in the used soil? I like to use compost teas for fertilizer, and what do I put in my aerated compost teas…any and all trimmings for my cannabis plants.
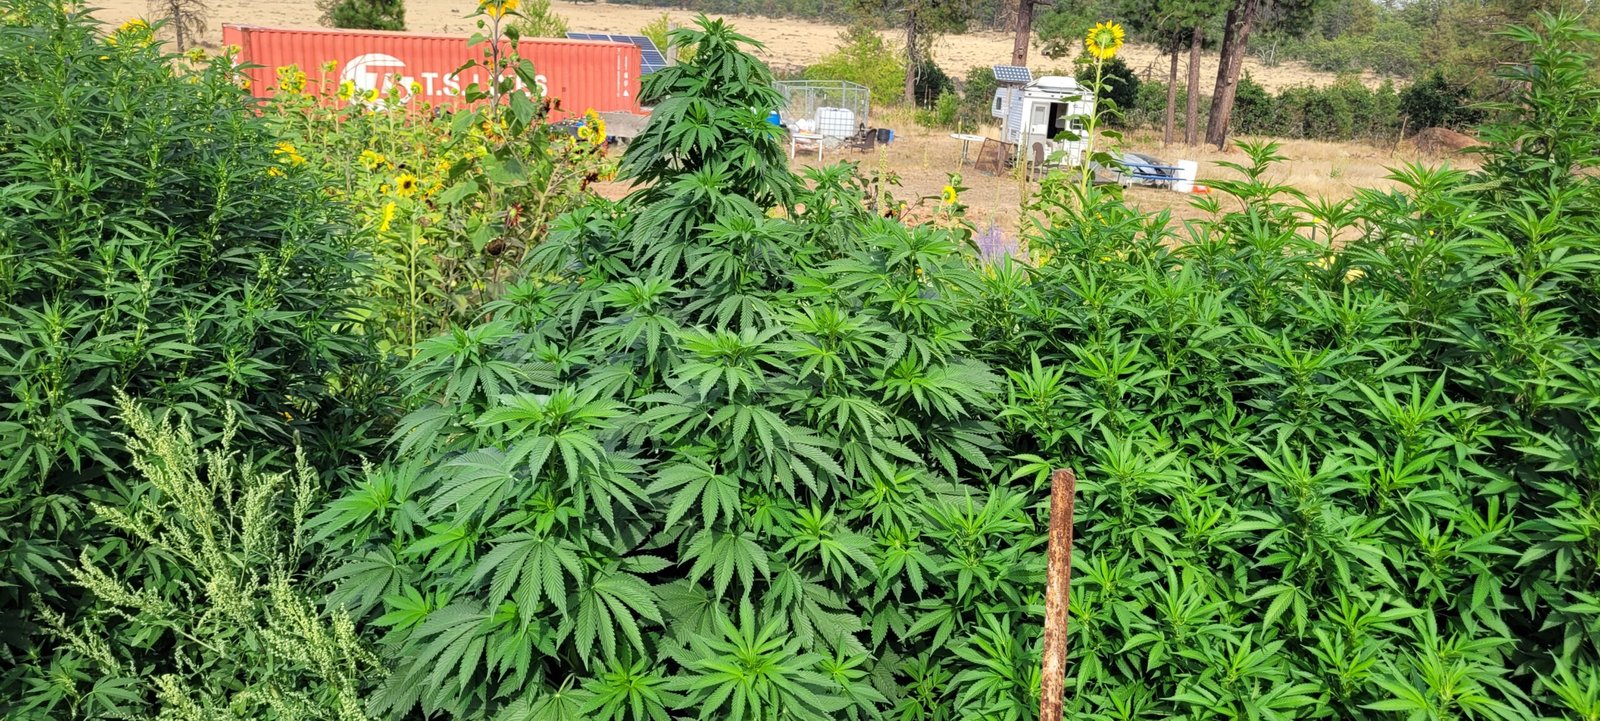
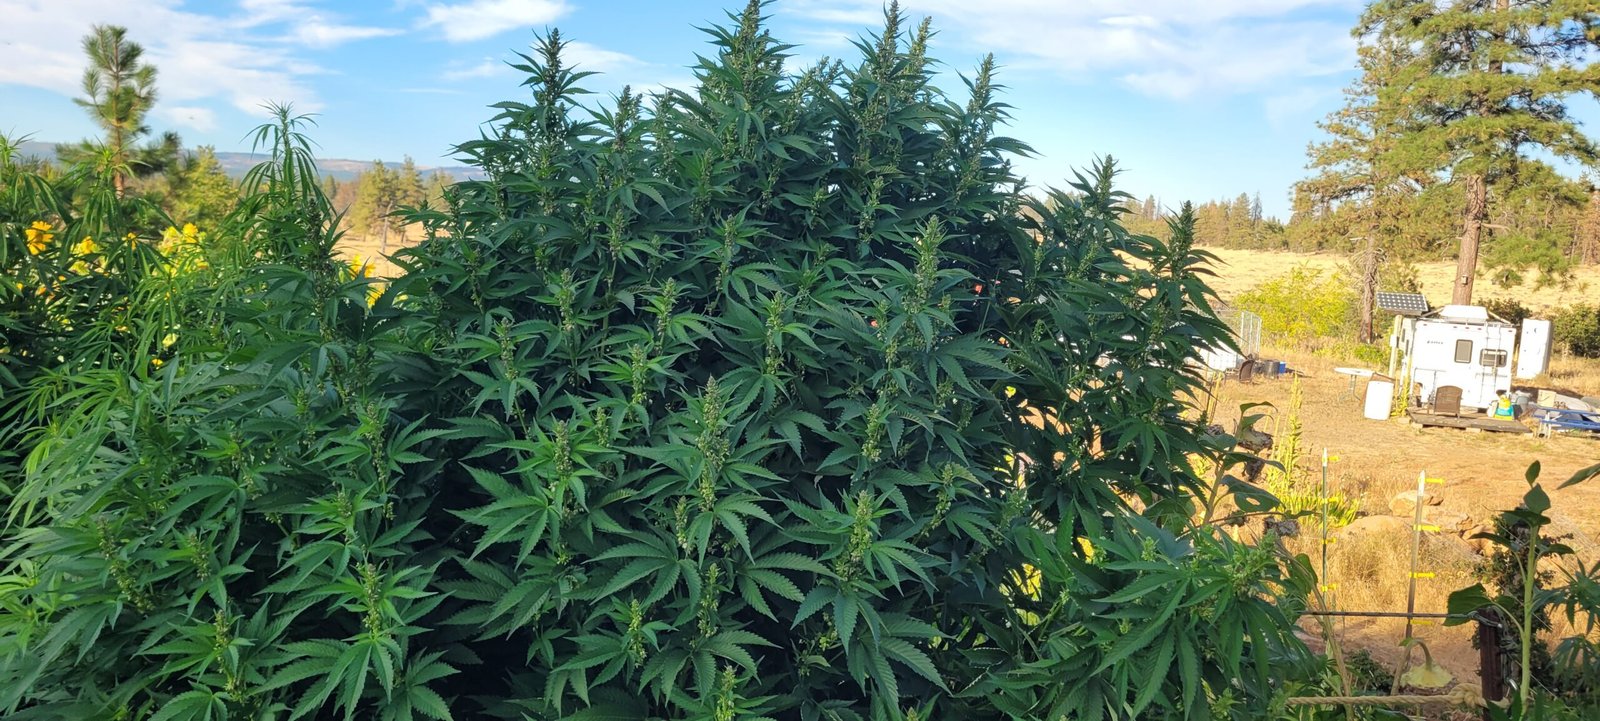
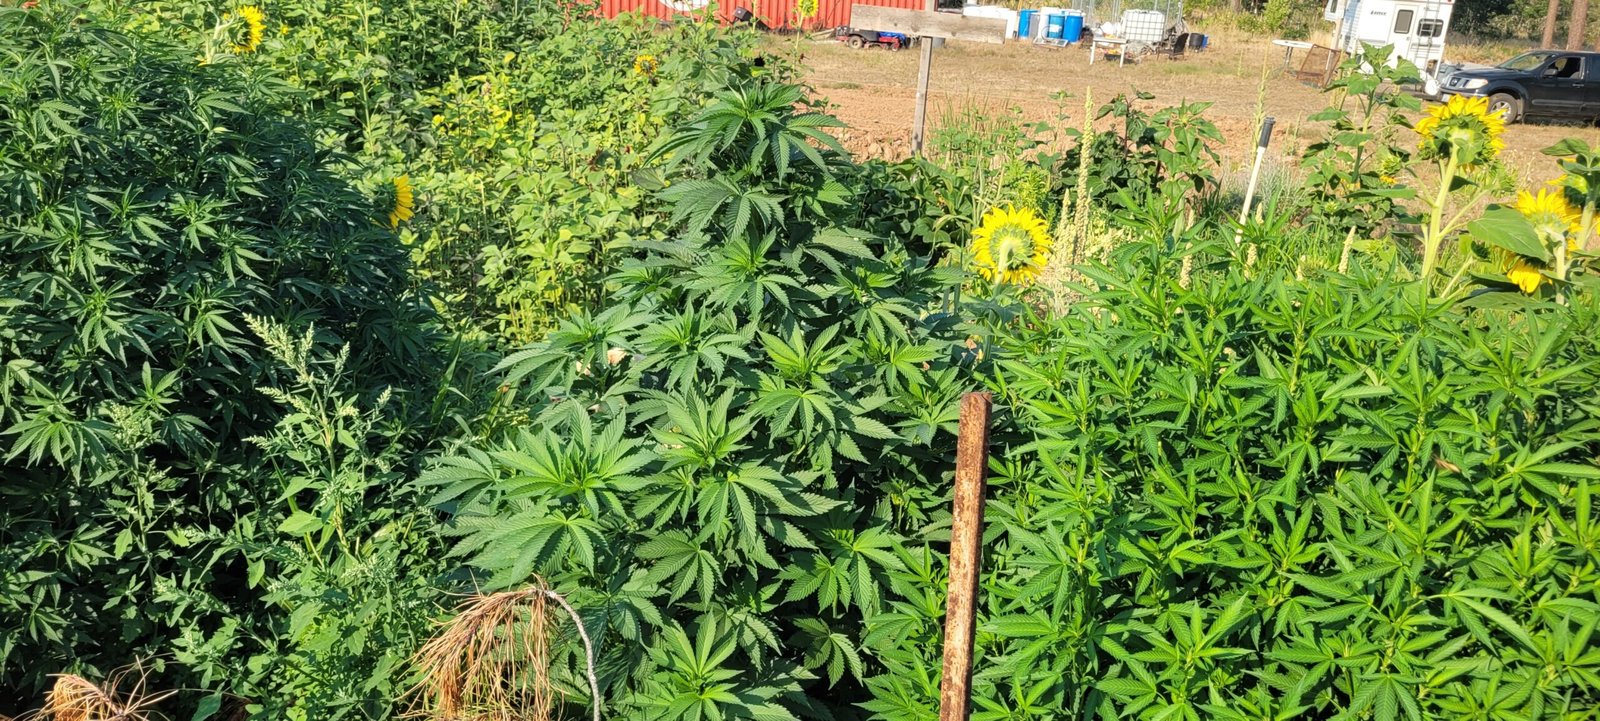
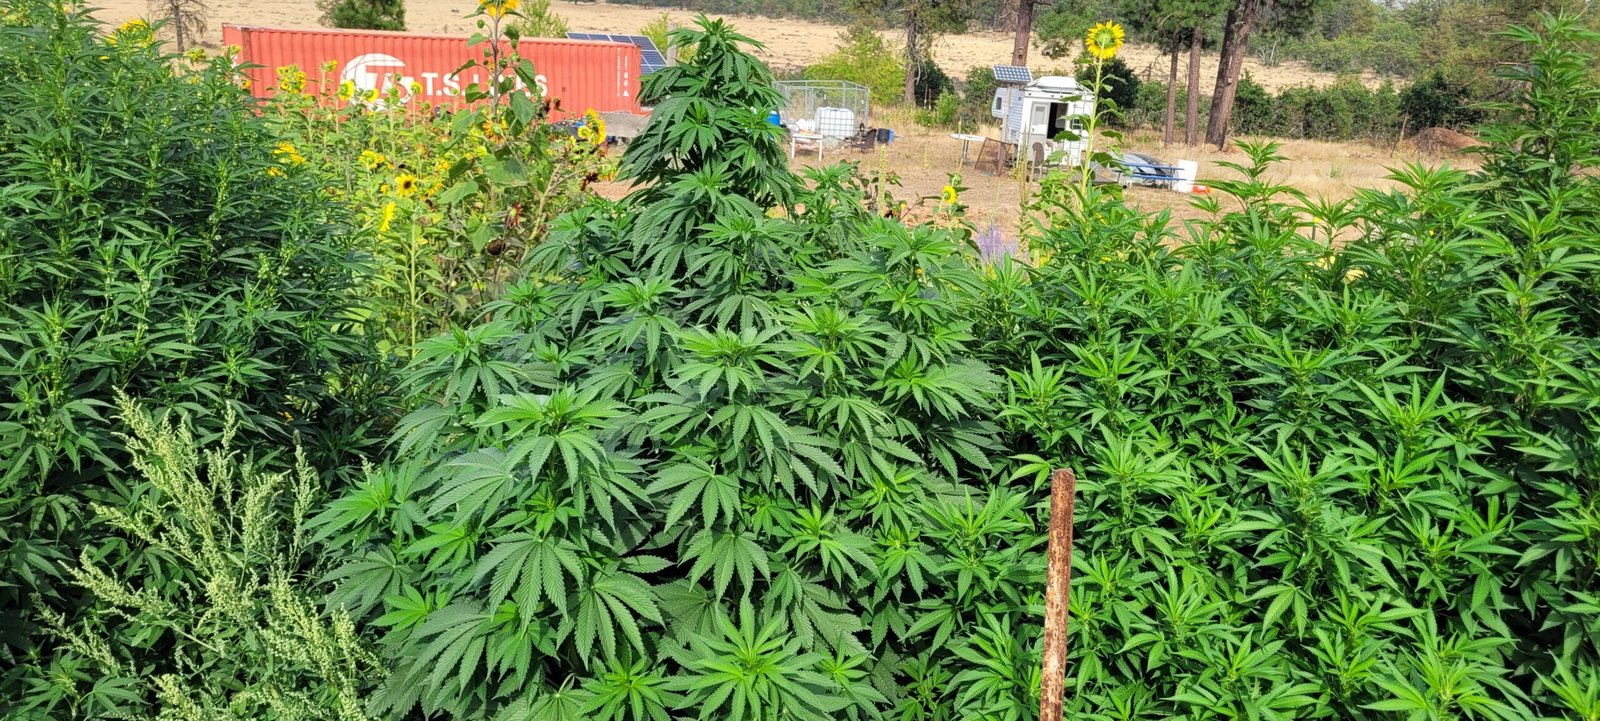
The older the soil, the more stable it becomes imo. I have some “living soil” beds that I haven’t changed in years, and the plants I pull out of there now are just as frosty, and big as the ones from my first year. This is because the microbial life has had years to establish itself. Additionally, recycling soil is a huge part of sustainable cannabis gardening. It keeps plastic bags out of landfills and reduces the carbon footprint of your grow. Plus, let’s be honest—it’s much easier on your back and your wallet! Once you master the “recharge,” you’ll never go back to the “buy-grow-toss” cycle again.
Recharging the Battery: How to Re-Amend Used Soil
Think of your used soil like a drained battery. The plant has sucked out most of the nitrogen, phosphorus, and potassium, but the “case” of the battery—the soil structure—is still perfect. To get back to growing cannabis in 100% recycled soil, you need to plug it back in and recharge it with fresh organic amendments. I’ve learned that a mix of “slow-release” fertilizers is the key. You don’t want to dump a bunch of liquid nutrients in; you want to build a pantry of food that the soil microbes can slowly serve to your plant over the next three months.
My “Ghostly Recharge” usually involves a few staple ingredients. I like to add about 10% or so fresh worm castings to every batch—this is the gold standard for adding both nutrients and biology. Additionally, I’ll mix in some kelp meal for micronutrients and a bit of bone meal or high-phosphorus bat, or bird guano to help with recharging that soil. From my own grows, I’ve found that adding organic soil amendments like natural compost or alfalfa meal also provides quick nutrients for your plants. You want to mix these in thoroughly and let the soil “cook” or rest for at least a week before planting your new seeds or plants. This allows the microbes to wake up and start breaking down those dry ingredients into a form the plants can actually use. Be sure to water it well (but just short of run-off) during the ‘break in’ time.
Microbes and Mycorrhizae: The Secret to Living Dirt
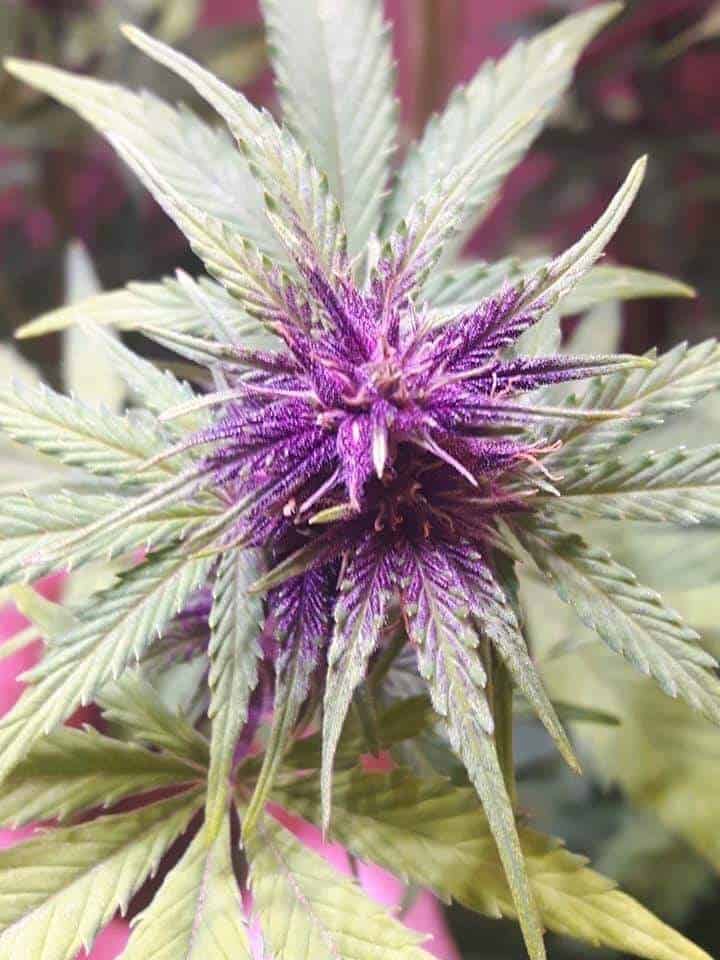
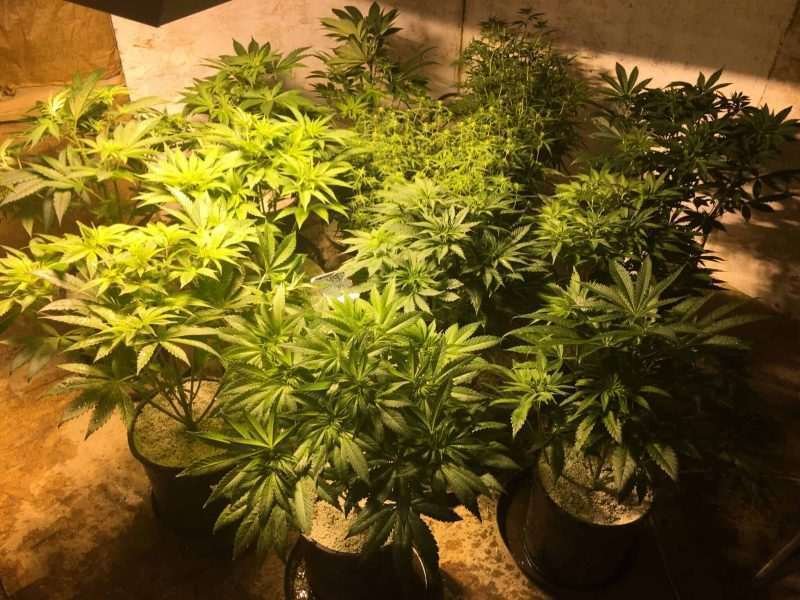
The real magic of growing cannabis in 100% recycled soil isn’t in the minerals; it’s in the life. You are building a living soil ecosystem. When you reuse soil, you are preserving the beneficial fungi (mycorrhizae) and bacteria that form a symbiotic relationship with your cannabis roots. These microbes act like a digestive system for your plant, fetching water and nutrients from the soil and feeding those roots. I remember one experiment where I split a batch of seeds—half went into fresh, sterile “pro-mix” and the other half went into my five-year-old recycled living soil. The recycled soil plants had thicker stalks, bigger leaves, and were just more robust.
To keep this “micro-herd” happy, you need to feed them. I’ve learned that a little bit of unsulphured blackstrap molasses mixed into your water once a month acts like a sugar rush for your soil bacteria. It keeps them multiplying and active. However, you also have to be careful not to kill them. Using heavy synthetic fertilizers or chlorinated tap water can wipe out your microbial population in a single afternoon. Additionally, if you’re using no-till gardening techniques, you don’t even need to dig up the soil! You just cut the old plant at the base, leave the roots to rot (which creates air channels), water in the new nutrients and plant your new seedling right next to the old stump. This preserves the fungal networks perfectly.
The Great Cleanse: Dealing with Salt Buildup
One of the biggest hurdles when growing cannabis in 100% recycled soil is the buildup of mineral salts. If you’ve been using bottled nutrients, those salts can accumulate and cause “nutrient lockout,” where the soil’s pH gets all wonky and the plant can’t eat anything. You’ll see this as yellowing tips or strange spots on your leaves. From my experience, the best way to handle this is a good old-fashioned flush before you start the recycling process. I’ll run several gallons of plain, pH-balanced water through the pot after harvest to wash away those excess salts. And, truthfully this is something that can be done every time.
However, if you are growing purely organically, salt buildup is much less of a concern. The microbes break everything down into organic forms that don’t crystallize in the same way. But I still recommend testing your soil’s pH and EC (electrical conductivity) before you replant. If your soil is too acidic, a little bit of dolomitic lime can help bring it back to center. If it’s too alkaline, some elemental sulfur or more organic matter like peat moss will do the trick. A balanced home is a happy home for your cannabis plants roots!
Step-by-Step Guide to Recycling Your Cannabis Soil
Ready to give it a shot? Here is the exact process I use for growing cannabis in 100% recycled soil. This method has worked for me for decades, and it ensures that your “spent” soil becomes a premium growing medium again. It takes a little bit of elbow grease, but the results are worth it. I usually do this in a large plastic tote or on a clean tarp in the garage. It’s a great weekend project for when you’re between harvests and want to prep for your next autoflower run.
- Harvest and Clean: After you chop your plant, remove the main root ball. Don’t worry about the tiny fine roots; they will break down and provide food for the microbes.
- Sift and Aerate: Dump the soil out and break up any big clumps. I like to add some new perlite most of the time…cannabis loves airy roots!
- Re-Amend: First flush if you think it is needed. Then add your organic fertilizers. Don’t forget the worm castings!
- Moisten and Mix: Add just enough water so the soil feels like a wrung-out sponge. Mix it thoroughly so the amendments are evenly distributed.
- The “Cook” Phase: Cover the tote and let it sit in a warm spot for at least a week, and even more is good. This “re-activates” the soil.
- Test and Plant: Give it one last mix, check the pH, and you’re ready to plant your next round of cannabis.
Common Mistakes with Recycled Soil to Avoid
While growing cannabis in 100% recycled soil is amazing, there are some traps you don’t want to fall into. The most dangerous one is ignoring pests or diseases from the previous grow. If your last plant had a massive infestation of root aphids or a nasty case of fusarium wilt, do NOT recycle that soil. Throw it in the compost pile far away from your grow room. You don’t want to pass those problems on to your next crop. I’ve learned the hard way that trying to “save” a diseased batch of soil usually leads problems with the next grow. Always start with a “clean” base for your recycling program.
Here are a few other common pitfalls:
- Compaction: Over time, soil particles get smaller and smaller. If you don’t add new aeration (like perlite) every couple of cycles, aeration is always key.
- Over-amending: It’s easy to think “more is better,” but too much nitrogen or phosphorus can lock out other vital minerals. Stick to the recommended rates! Less is better then too much!
- Ignoring pH: Recycled soil tends to become more acidic over time as organic matter breaks down. Always check your pH before every new plant.
- Using contaminated amendments: Make sure your compost or manure is fully aged. “Hot” manure can burn your plants.
- Forgetting the microbes: If you’re recycling soil, you *must* use organic methods. Synthetic salts will eventually kill the very life that makes recycled soil work.
If you run into trouble, usually it’s just a simple pH tweak or a need for a bit more aeration. Cannabis soil management is a skill that gets better with time. Don’t be afraid to experiment with your own recipes! Every garden is different, and finding the perfect “recharge” for your specific climate and strains is part of the fun of being a master grower.
Final Thoughts from The Ghost
Growing cannabis in 100% recycled soil is a journey toward becoming a more connected and skilled gardener. It forces you to look at the whole life cycle of the plant and the earth it lives in. When you pull a massive, sticky cola out of soil that you’ve personally nurtured for years, there is a level of pride that you just can’t get from a store-bought bag. I’ve spent over 50 years in the shadows, and my best harvests have always come from the “living” soil that I’ve created.
So, hey growers! Are you ready to stop being a “soil consumer” and start being a “soil builder”? Have you ever tried recycling your soil before? What’s your secret ingredient for a soil recharge? I’d love to hear your stories—share them in the comments. Let’s keep the “Ghost” spirit alive in our gardens. Happy growing, everyone, and stay ghostly!
Never Miss a Field Note or Grow Update
Get direct heads-up emails whenever new grow guides, strain stories, and farm trials are posted.
Join the JCS Email List• Who is the Ghost? (My Reveal)
• Cannabis Growing Guide 2025-2026
• Real Customer Testimonials & Reviews
• Real Customer Harvest Photos
This article is provided for educational and informational purposes only. It is not intended as cultivation or grow advice, nor does it encourage any illegal activity. All cannabis seeds sold on JustCannabisSeed.com are novelty items, souvenirs, and collectibles only. Germination and cultivation of cannabis seeds may be illegal in your jurisdiction—you are solely responsible for complying with all local, state, and federal laws. We do not condone breaking any laws. For full details, please read our Disclaimer, Terms & Conditions, and Privacy Policy.